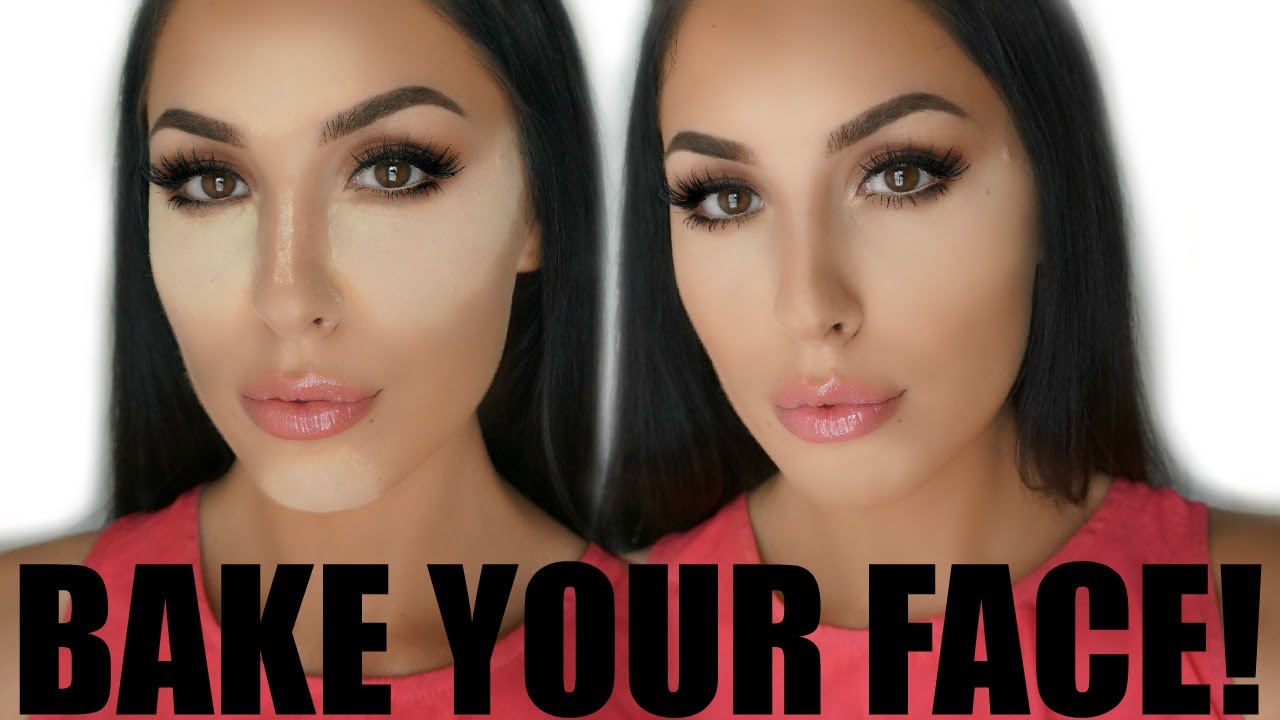
How to Bake Your Makeup Everyday Like a PRO!
Baking your makeup is a makeup trend that involves letting skin makeup products such as powder or concealer sit on top of your skin for several minutes after you apply them without blending them in as you normally would. During this time, your makeup is naturally heated or “baked” by the temperature of your skin and develops a flawless finish that is smooth and photo-ready. However, baked makeup needs to be applied carefully and correctly in order to prevent a heavy, caked-on appearance.
Read on to discover how to bake your makeup flawlessly to achieve a soft and smooth complexion.
1. Use the Right Brushes
The right brushes are a must-have when it comes to baking your makeup. You should use multiple high-quality brushes to bake your makeup correctly.
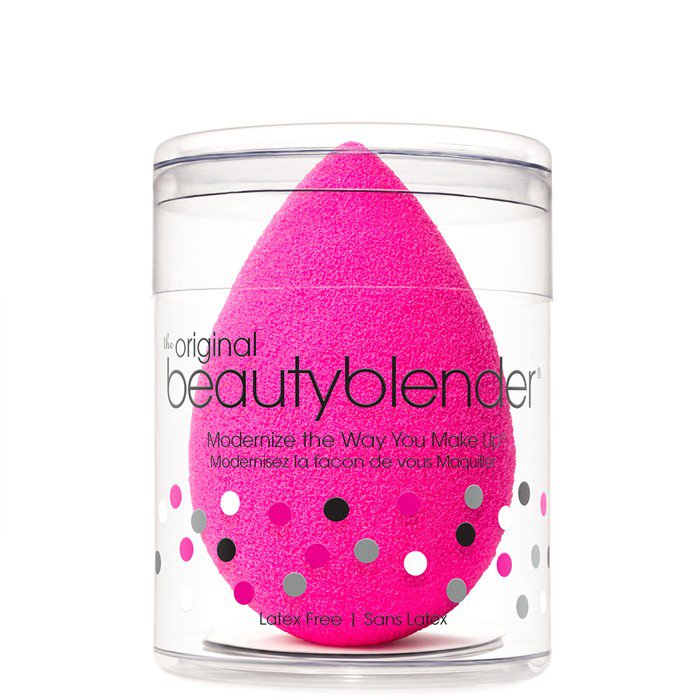
When you first apply powder and concealer to your face, use a sponge to gently pat it onto your skin, but do not blend it. After letting the product bake into your skin for ten to twenty minutes, use a sponge to gently blend the concealer into your skin in small circles. An excellent sponge to use for blending baked makeup is the Beautyblender The Original Beautyblender ($20.00).
For powder, use a sponge brush to lightly blend the product into your skin. Then, use a powder brush to buff the excess powder into your skin for a smooth finish. An excellent buffing brush to use for baked powder makeup is the bareMinerals Full Coverage Kabuki Brush ($28.00).
2. Moisturize Abundantly
In order to avoid a caked and chalky finish, you need to moisturize abundantly before baking your makeup. On aging skin with wrinkles and fine lines or any skin complexions with visible pores, pockmarks, acne scars, or uneven texture, baked makeup has a tendency to settle into the fine lines and texture of your skin to create an unnatural, cakey appearance.
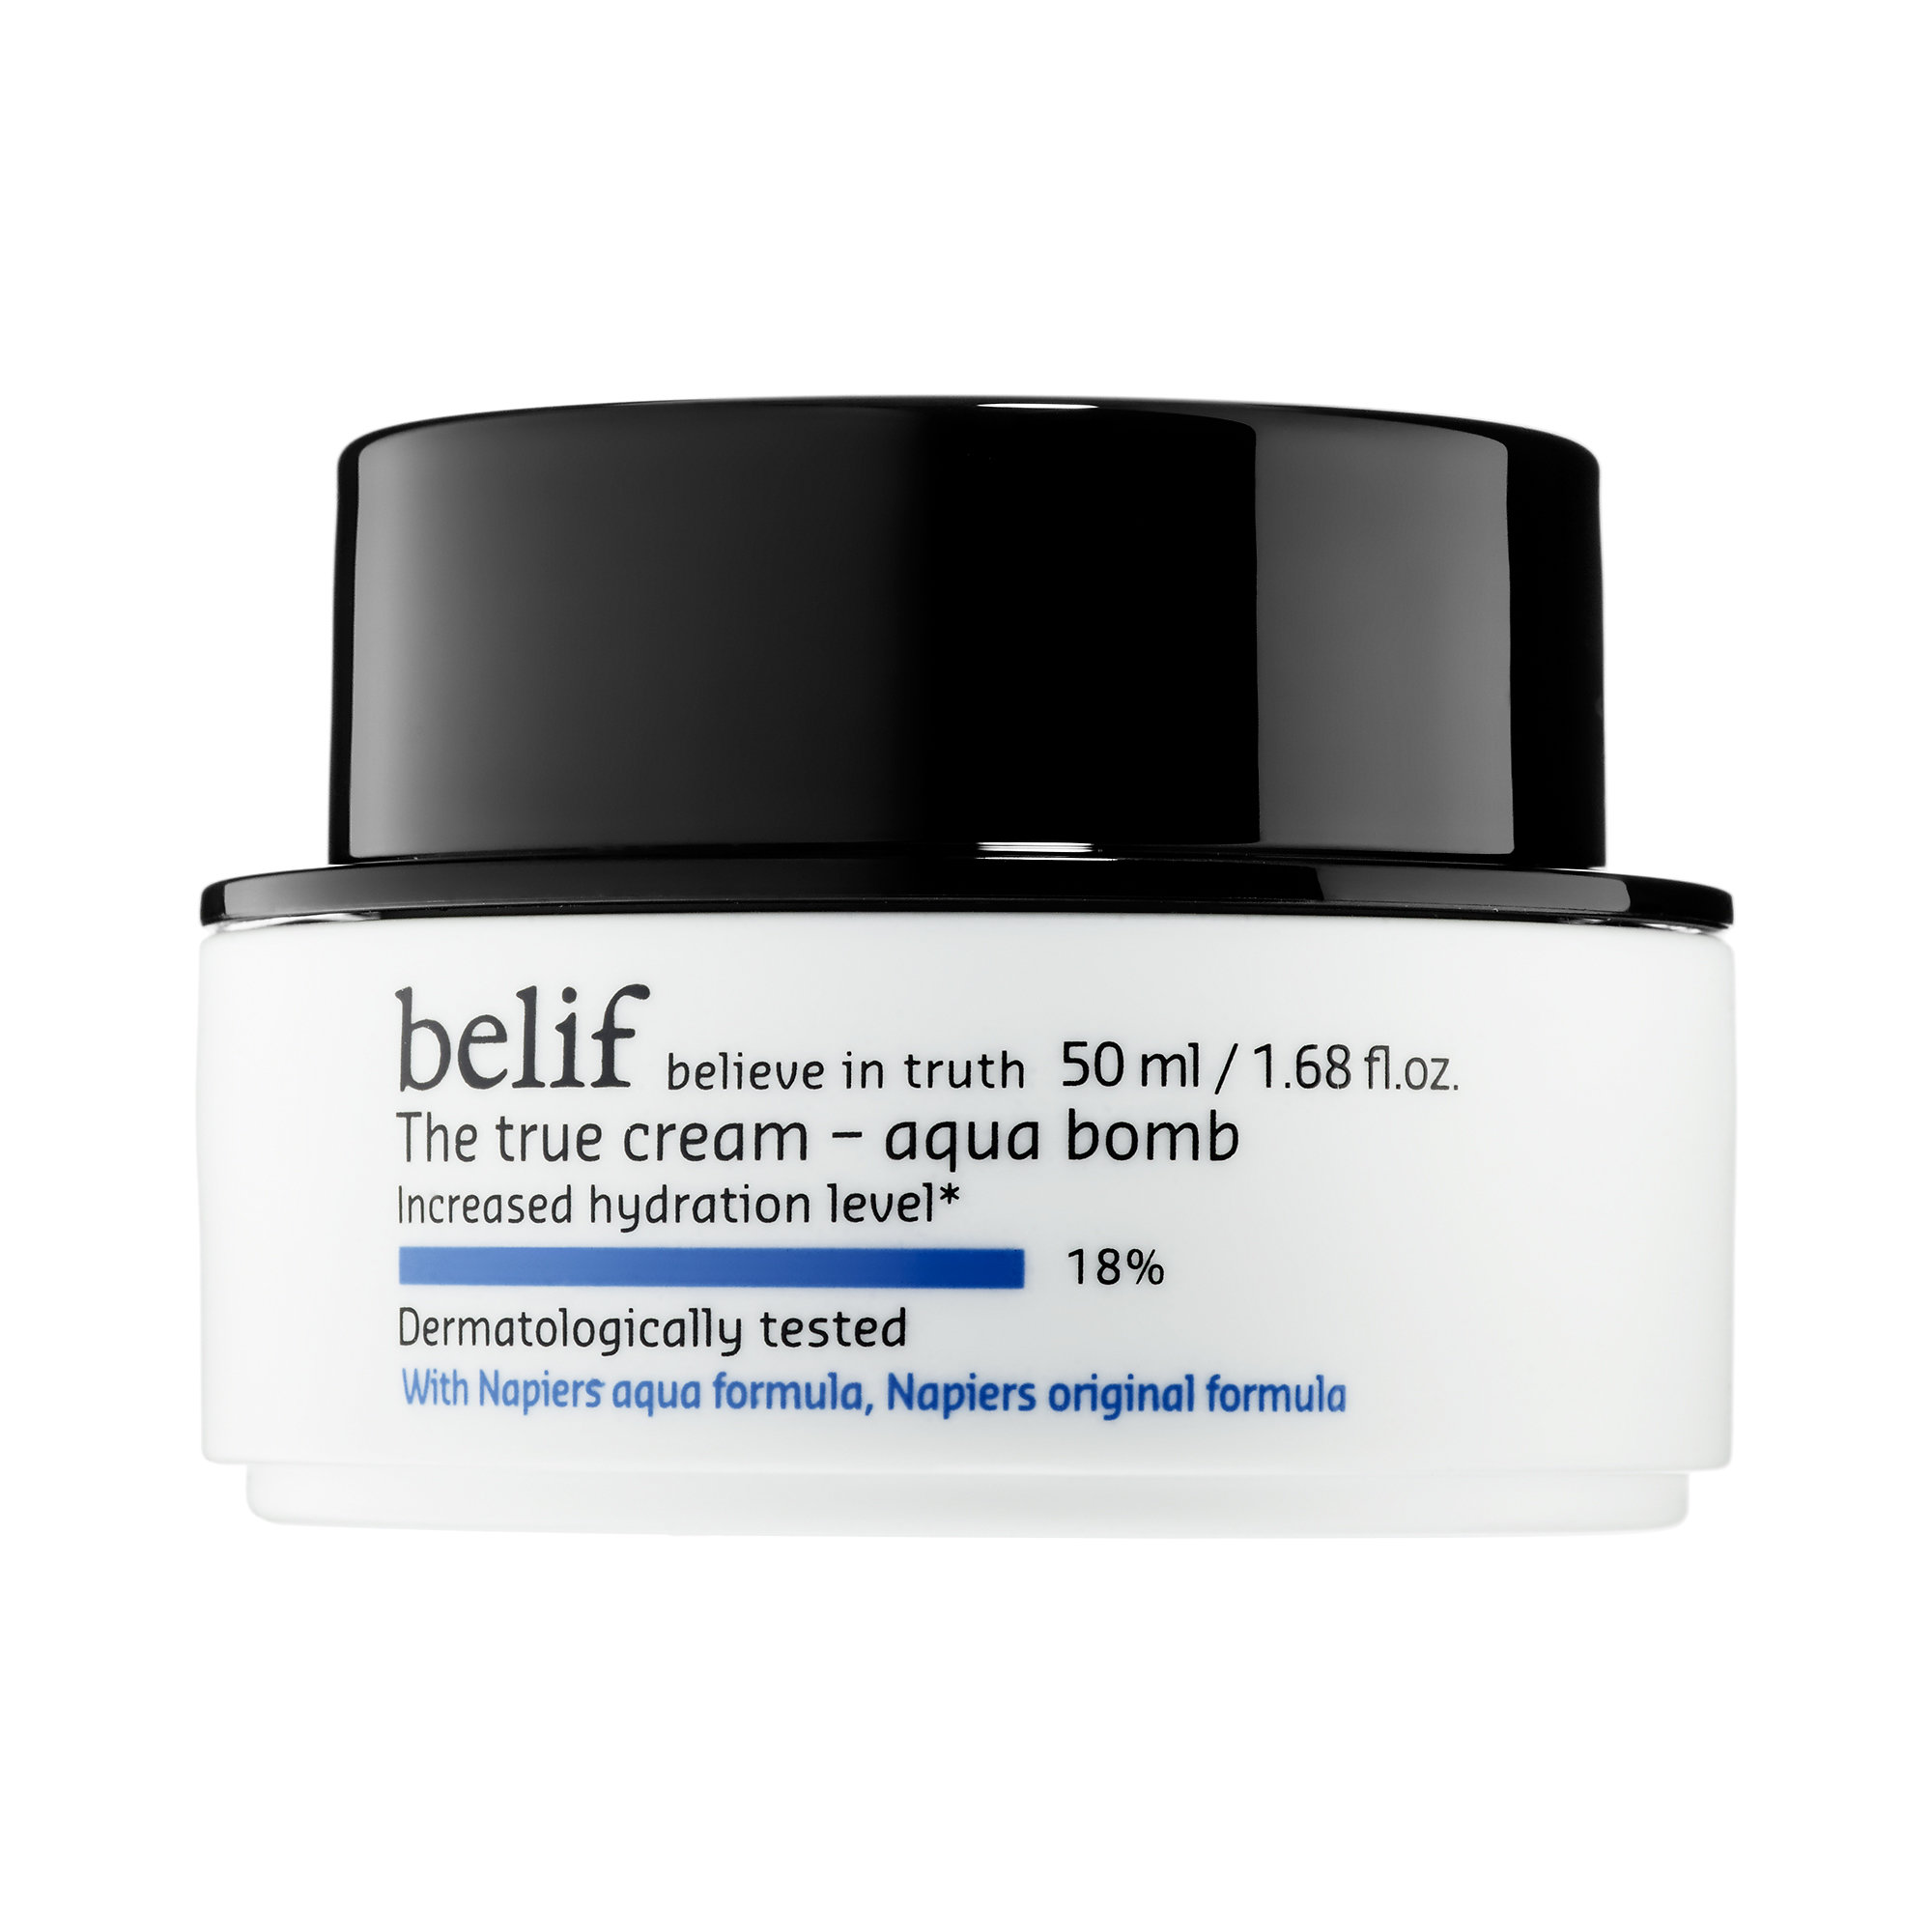
To prevent your baked makeup from settling unattractively into your skin, moisturize your skin before you apply any skin makeup to your face. Use a lightweight moisturizer in order to prevent contributing negatively to the heaviness of your baked makeup. A great lightweight moisturizer to use is the Belif The True Cream Aqua Bomb ($38.00); it is an extremely lightweight gel-based cream formula that hydrates your skin for a soft and smooth finish without adding any oil, shine, or heaviness.
Let your moisturizer dry for approximately ten minutes before applying any makeup over it to allow it to absorb into your skin and create a smooth, even finish that prevents your baked makeup from settling.
3. Choose the Occasion Carefully

Baked makeup doesn’t have to look cakey and heavy if applied correctly. However, it does not look completely natural and is not ideal for days when you want a “no makeup” makeup look. Baked makeup provides your skin with a smooth, flawless finish that masks imperfections, but it is not subtle.
It is best to completely bake your makeup for a full ten to twenty minutes for special occasions, long events where you need your makeup to last for a long time without creasing or melting, or on days when you will have your picture taken. On days where you want a more subtle look but still want the benefits of baked makeup, only let your makeup bake for three to five minutes before blending it to achieve a more natural finish.
4. Use the Right Products
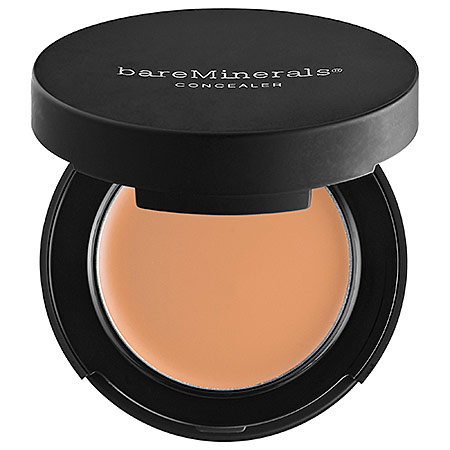
Makeup that works best for baking is generally concealer and powder. If you have wrinkles or an abundance of fine lines on your face, you might want to go easy on the powder, as a heavy application of powder can emphasize wrinkles. Instead, opt for creamier products to bake, such as creamy concealers. An excellent cream concealer formula for baking is the bareMinerals Correcting Concealer ($20.00).
If you have oilier skin, however, you might want to use more powder to combat shine throughout the day and avoid contributing extra grease to your skin. Loose powder works best for baking rather than pressed powder because pressed powder tends to blend and absorb naturally into your skin before it’s done baking. An excellent loose powder for baking is the Clinique Blended Face Powder ($25.00), a tinted powder that includes a powder brush.
5. Dampen Your Brushes
For a heavier, more chiseled baked makeup look that defines your features and sets your foundation for an ultra long-lasting finish, use damp sponges and brushes when you apply and blend your baked makeup.
Use a damp (not soaked or dripping) sponge to apply concealer or powder to your skin and blend it after ten to twenty minutes of baking. The only brush you should use dry is your powder or kabuki brush to dust away excess product from your skin to finish the look.
Baked makeup is the newest makeup trend that doesn’t seem to be going anywhere anytime soon. It provides your skin with a smooth finish and helps your makeup stay put longer without fading or melting away. Use the tips in this post to learn how to apply baked makeup flawlessly and effortlessly every time.
Leave a Reply