Do It Yourself Wedding Invitations: The Ultimate Guide
Whether you’re looking to minimize costs, retain more control or just add your personal touch, crafting your do it yourself wedding invitations can be a fun and rewarding endeavor.
In this guide we want to walk through the step-by-step process to easily create wedding invitations that are so polished and sophisticated, your guests will never know you pulled them together yourself.
We’ll show you how to take your invites from a simple idea to fully made cards, from selecting a design, to buying stationery and printing. We’ll also share our practical tips for avoiding common blunders and saving time.
Here’s what we’ll cover:
- Advantages of Making Your Own Wedding Invites
- Finding Inspiration and Ideas
- Choosing the Right Invitation Style for You
- Test Your Idea
- How to Make Your Wedding Cards, Step-by-Step
Advantages of Making Your Own Wedding Invites
Every couple has their own motivation for taking their wedding invitations into their own hands, but here are the reasons we most often see our customers choose to go this route.
Making Your Mark
A wedding is often a showcase of the style and personality of the couple getting married and the invitations are no exception. It’s only natural for a couple to want to put their own personal touch on their invites. It is often a couple’s first joint project!
After all, your wedding invites showcase your personal taste and give your guests a glimpse of your wedding theme. Why wouldn’t you want to be involved in crafting them?
Plus, creating your own invites gives you the ability to tap into your creativity. It is an awesome chance to explore your artistic side. And you can even turn parts of the project into an excuse to bond with your wedding party, friends, and family as they assist you in making the invites.
Retaining Control
There is nothing wrong with wanting to be intimately involved in the creative and decision-making process, when it comes to your wedding cards.
While hiring a stationer to take on the entire project may be a great fit for some couples, it’s not for everyone. Many of our clients want to be more hands-on in every aspect of crafting their invites to ensure they get exactly what they have in mind.
When you choose to do it yourself, you maintain control over the process. Since you’re the designer, you can choose the design, color and word formats that please you; playing around with options until you find the one that feels just right.
Rather than wait for the final cards to be delivered, and find out at that time whether you like them or not, you can see the results of your DIY project at each stage and make adjustments as you go on.
It removes the stress of accepting not-so-well-made cards that you’d have paid for. And, as an added bonus, you’ll probably feel a tremendous sense of pride in your accomplishment when friends and family start giving you compliments for the cards you have produced.
Managing Costs
Some methods of creating your wedding invitations can get rather costly. However, with the methods outlined in this guide, you will spend a fraction of what you would have paid a professional to design and print them for you.
Finding Inspiration and Ideas
Ready to take on your own wedding invitations? The first step is to get inspired and determine what you want.
What to Look For
Invitations come in thousands of colors, shapes, cuts, sizes, paper styles and more, which can sometimes feel overwhelming. However, once you narrow down what is important to you everything becomes much easier. Here are a few considerations to keep in mind:
- Feasibility: is this truly a style or a print type you can do on your own without special commercial equipment? (Ex. custom shape cuts and letterpress printing isn’t typically for the do-it-yourselfer)
- Affordability: If one of your motives for going the do-it-yourself route is to keep costs in check, then you may want to avoid falling in love with exotic invitation styles that incorporate specialty papers and other highly custom items.
- Skillset: While you may be drawn to highly intricate graphical elements, it may not be within your skillset to re-create these effects without formal graphic design training and software. Our templates provide many of these elements for you but in general leave the more complicated effects to the professionals.
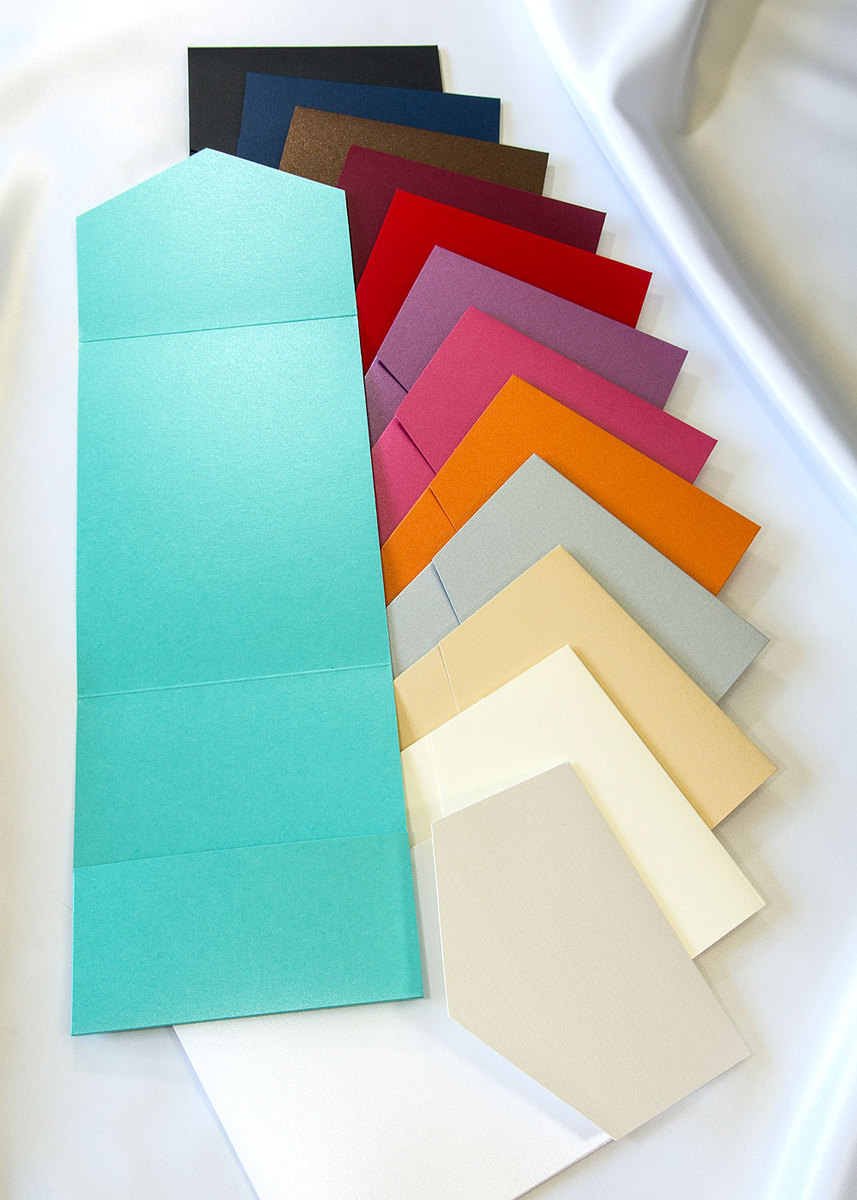
- Colors: Narrowing down the color scheme for your invitations isn’t usually very difficult if you already know what your official wedding color palette will be. However, don’t limit yourself only to invitation options that include these colors in the papers themselves. Many times, you can purchase a neutral color invitation kit or papers and simply implement your custom color scheme into the color of the ink or by using embellishments such as ribbons, seals or lace to get a second or third color into your finished invitations.
- Video: https://www.youtube.com/watch?v=AhHcuztLJQo
- Styles: What types of invitation “style” are you drawn to? Vertical or horizontal? Pocket fold or simple one-card designs? Cards with embellishments, such as ribbon and lace? Single flat panel cards or invitations with borders and layers?
- Paper: After exploring options, you might have your heart set on a specific type of paper, such a shimmery finish or linen texture. Just make sure you use a good quality card stock. A plain design on good quality card stock will always look better than an exotic design on cheap paper.
When looking for inspiration for your DIY wedding invites, you want to first consider how feasible it will be for you.
Online
You can get plenty of ideas from blogs, websites, Pinterest, Instagram and YouTube videos. Here are a few inspirational make your own wedding invitation ideas we’ve put together to get you started.
Wedding Magazines
While most wedding magazines feature invitations designed by their advertisers, which may or may not be affordable to you, these designs can be great sources for inspiration. Consider color combinations, fonts, accents, embellishments and invite styles to narrow in on your personal preferences.
Choosing the Right Invitation Style for You
Making your own invitations can be highly complex or surprisingly simple.
Since we are all about taking the stress out of getting gorgeous wedding invites, we’ll lay out the simplest path to stunning invites for you: printable wedding invitation kits.
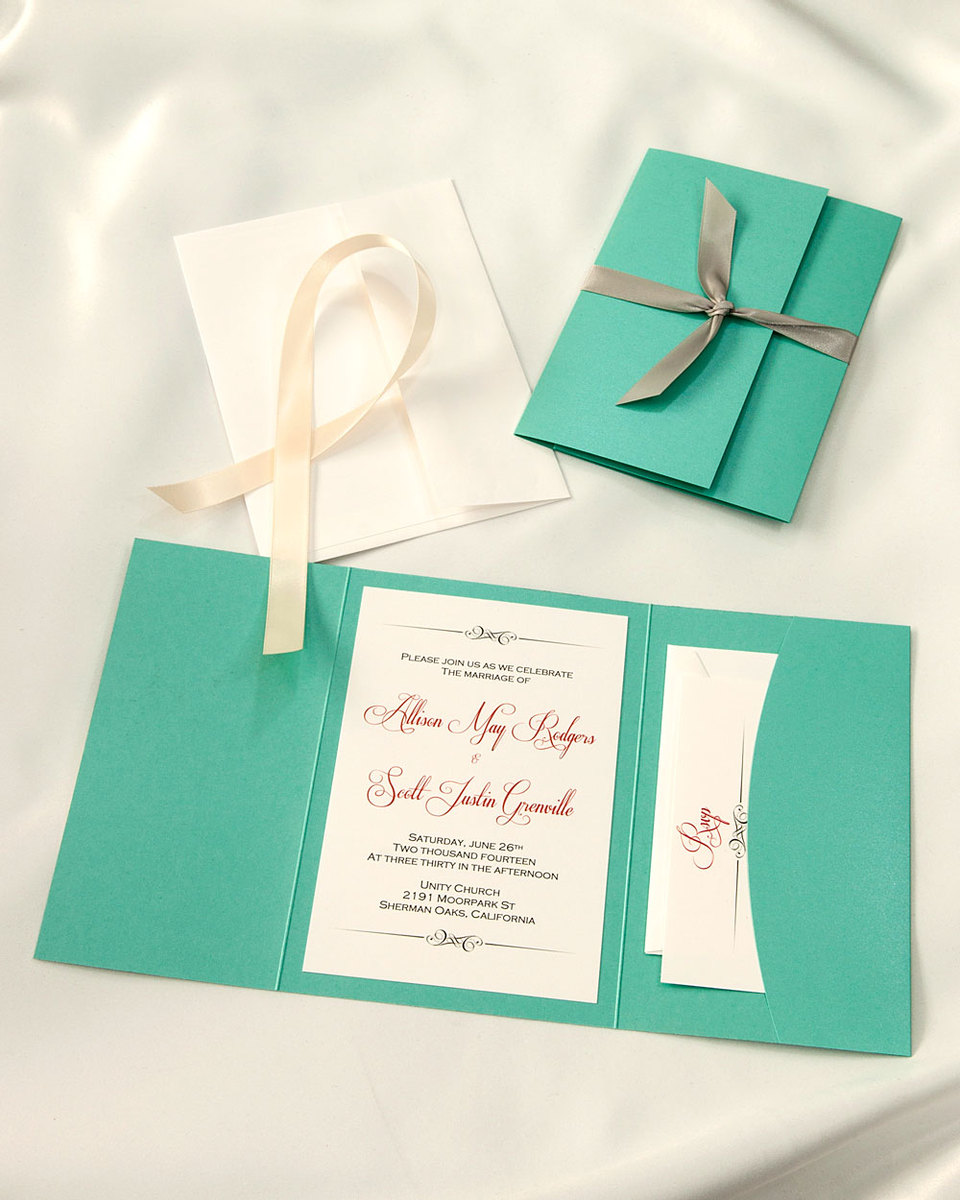
Yes, if you’re looking for more of a challenge or intense project, you can definitely source every single material needed for your invites, from the paper to the overlays, embellishments and accents. That’s certainly an option, but it’s more for the purists since it takes much more time and is generally the harder way to go about it.
If you want to save time, keep control, make your invites affordable and still be intimately involved in the entire creative process, then starting with a kit is often a much better option.
Read on and you’ll quickly get a sense of how this works and whether it’s the right fit for you.
How Printable Invitation Kits Work
It’s fairly simple really.
- Choose the style of invitation kit you want (see the options below)
- Select your colors and how you want to dress it up (embellishments, ribbon etc.)
- Order the kits and accents (you can start with a sample first)
- Customize and print the invitation and related inserts (directions, response card) onto the card stock supplies provided in your kit
- Assemble your printed invitations onto the card backing, adding any layers and embellishments, and insert any additional cards into pockets where applicable
- Stamp and mail your invites
Video: https://www.youtube.com/watch?v=ZBDBlMgEYig
You Want to Save Time & Make It Easy
Want to create your own invitations without it feeling like a second job? If wedding planning has taken on a life of its own and you’re finding yourself chasing deadlines, maybe a quicker do it yourself invitation is in order.
Some invites need far less time to make, such as the single card style.
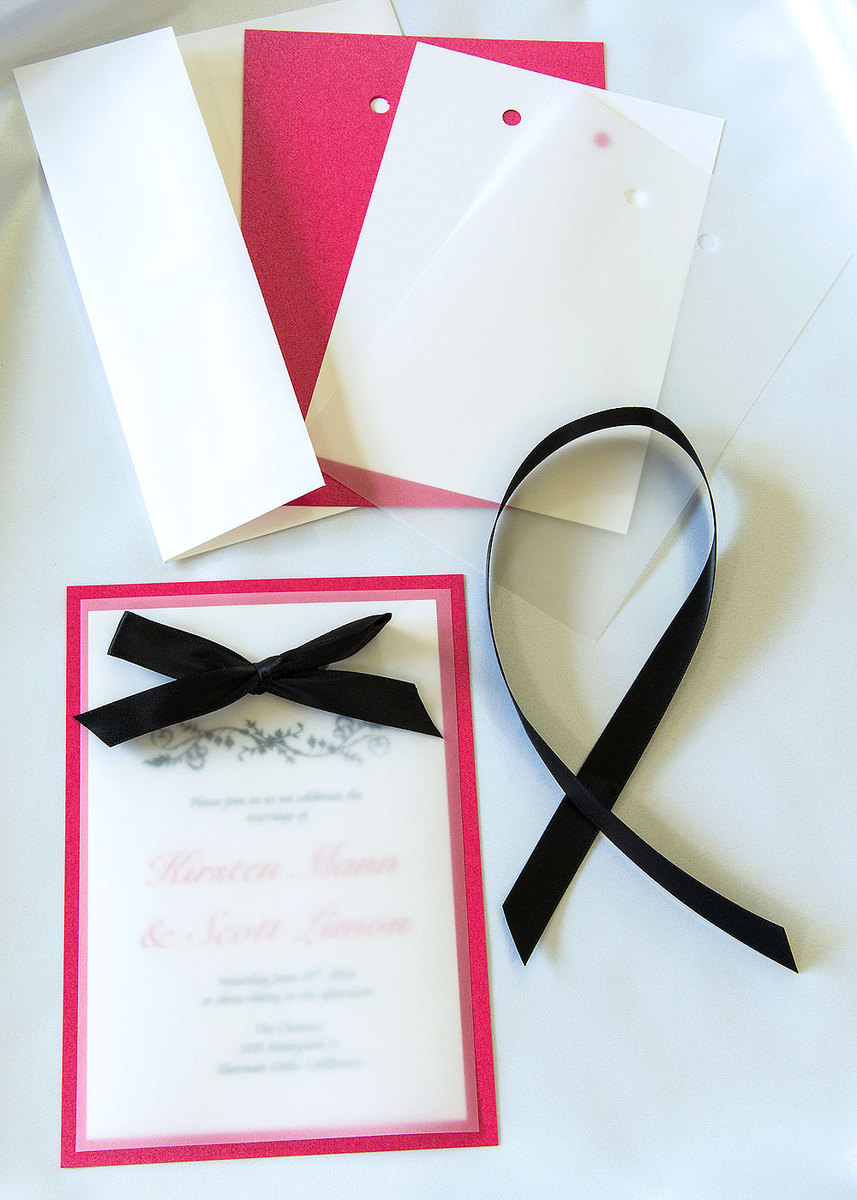
This simpler DIY wedding invitation needs only the announcement, so the information is placed on one card. If you need to communicate more details to your guests, consider adding your wedding website address to the single card invite. This way, they can visit your official site for more information.
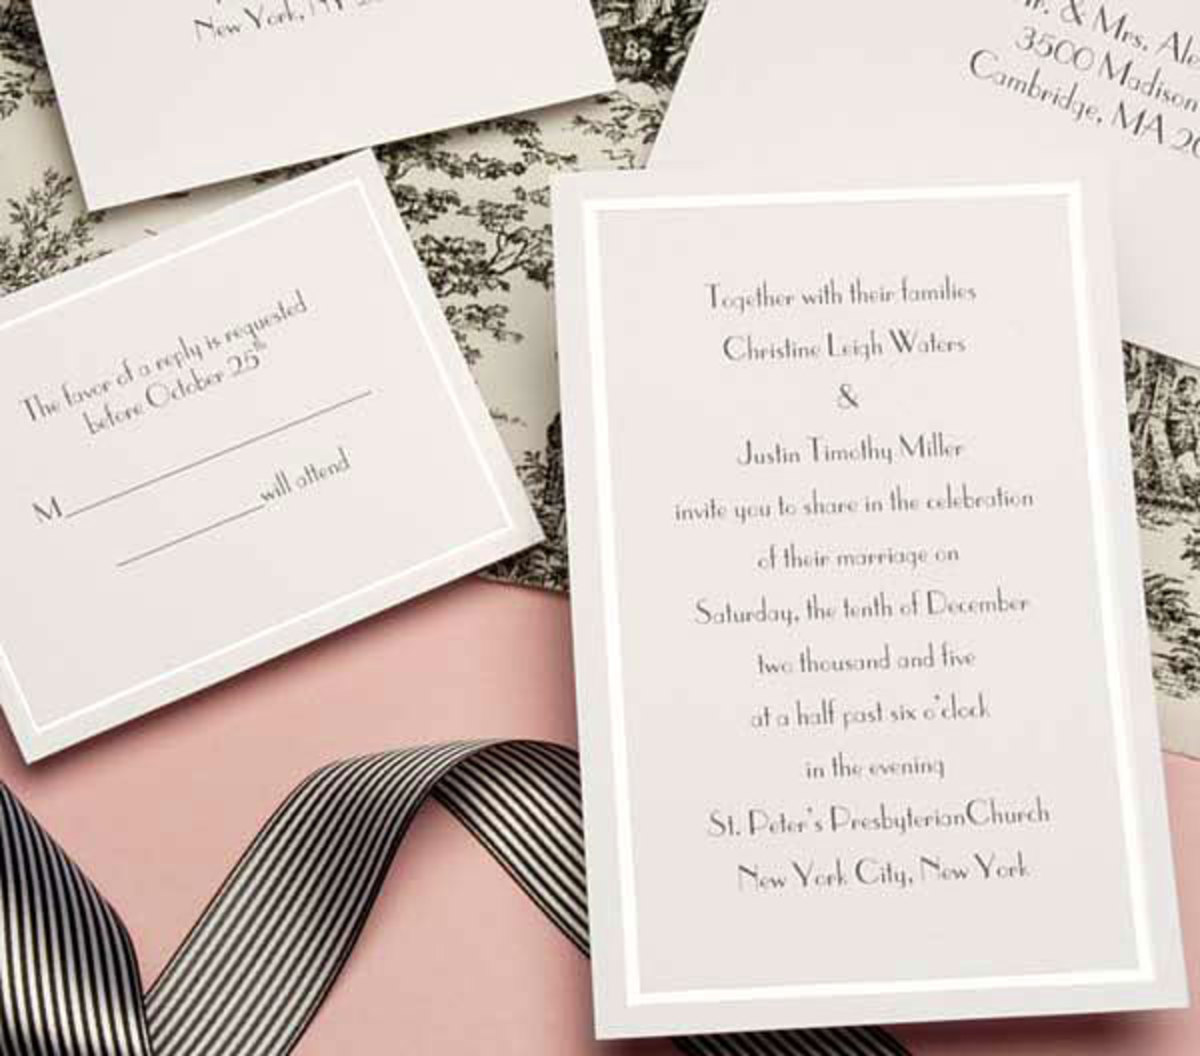
If you really want to keep it simple and save time, steer away from extra elements, such as ribbon or layers. While these added features are gorgeous, they can add time to the overall production of the final invitation.
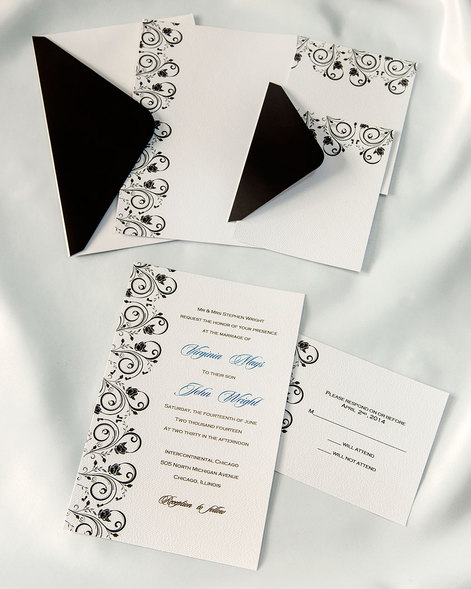
You Want to Keep It Formal
Formal or traditional wedding invitations are sophisticated and classic. They may need a little extra time to make due to the additional pieces that go along with the invitation itself but in general are well worth the extra time and effort. At minimum, a formal wedding invite often includes the wedding invitation, reception invitation and response card.
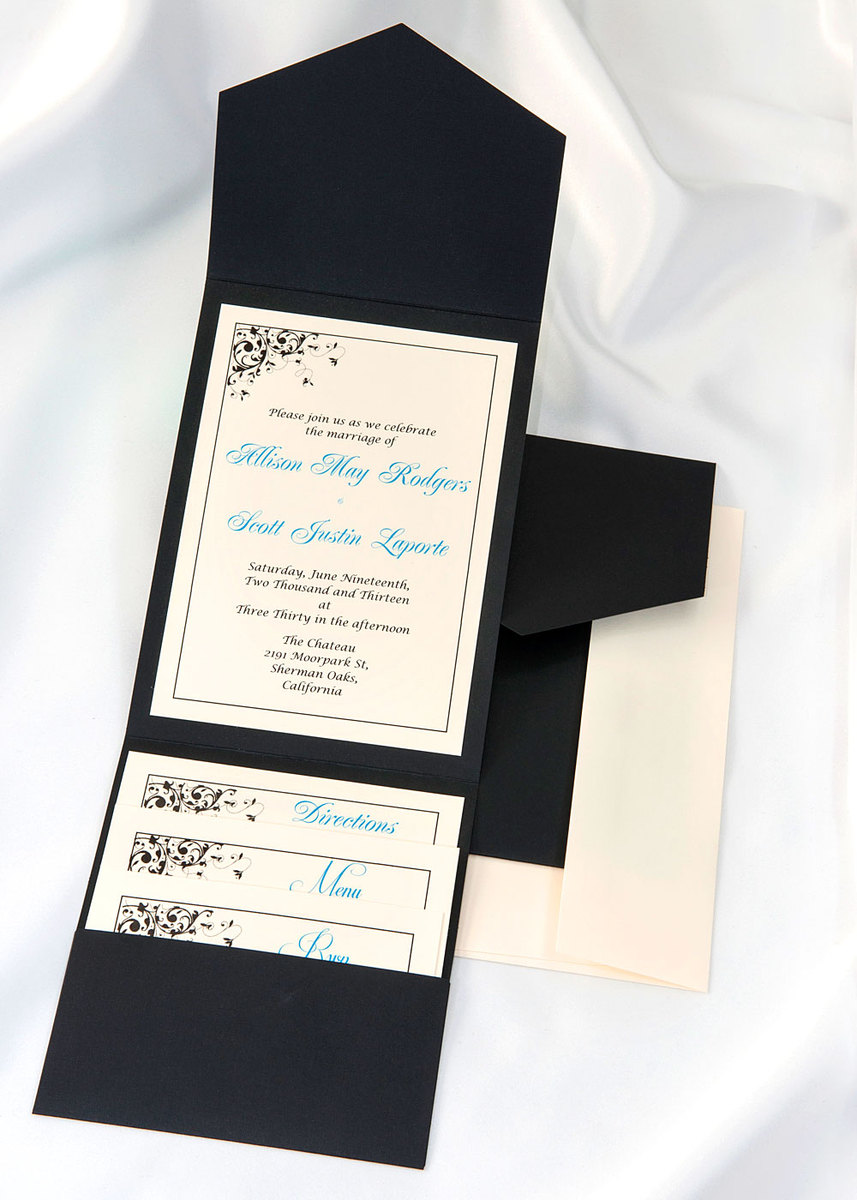
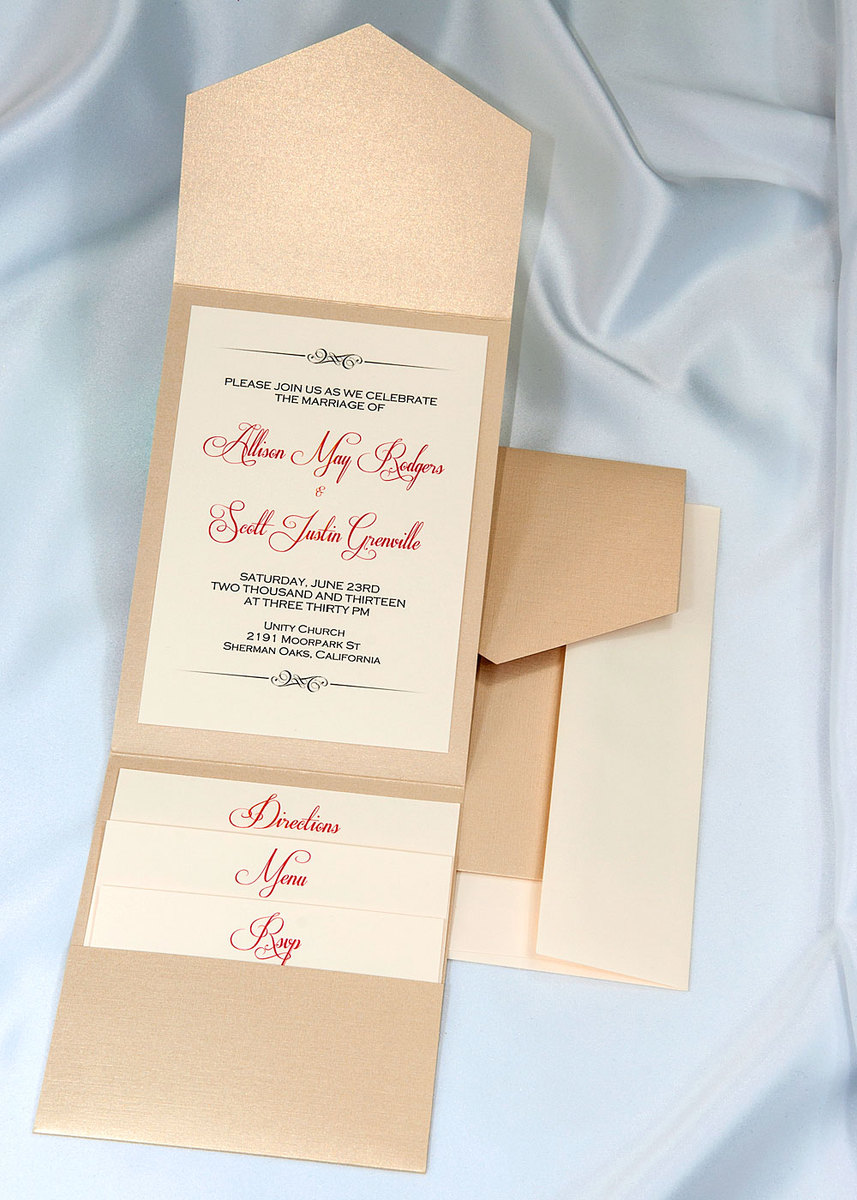
A pocket folder wedding invitation kit is the perfect solution for holding all the required inserts. It can typically hold more cards and is ideal when you have additional information you want to provide your guests.
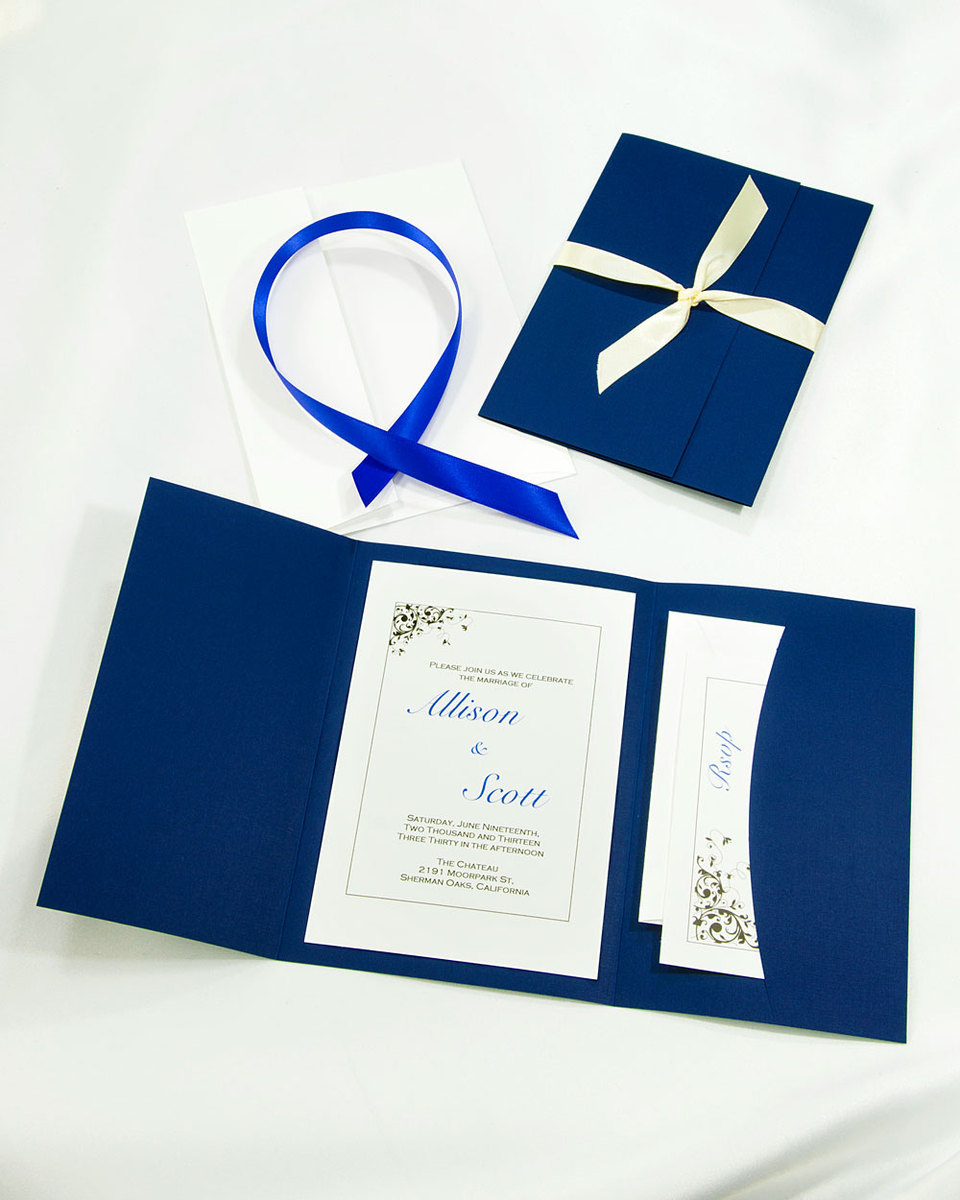
In addition to the invitation itself, a typical pocket fold kit will also carry two or three additional cards; two larger inserts for directions, maps, gift registry, venue details or the menu and a smaller insert for an RSVP response card.
Want to spice up your formal invite? Consider adding a vellum overlay to give it that extra special effect. Vellums used to be traditional but now they are a simple and inexpensive add-on that provides an unexpected flair to a wedding invitation.
You Want To Create A Luxurious Look
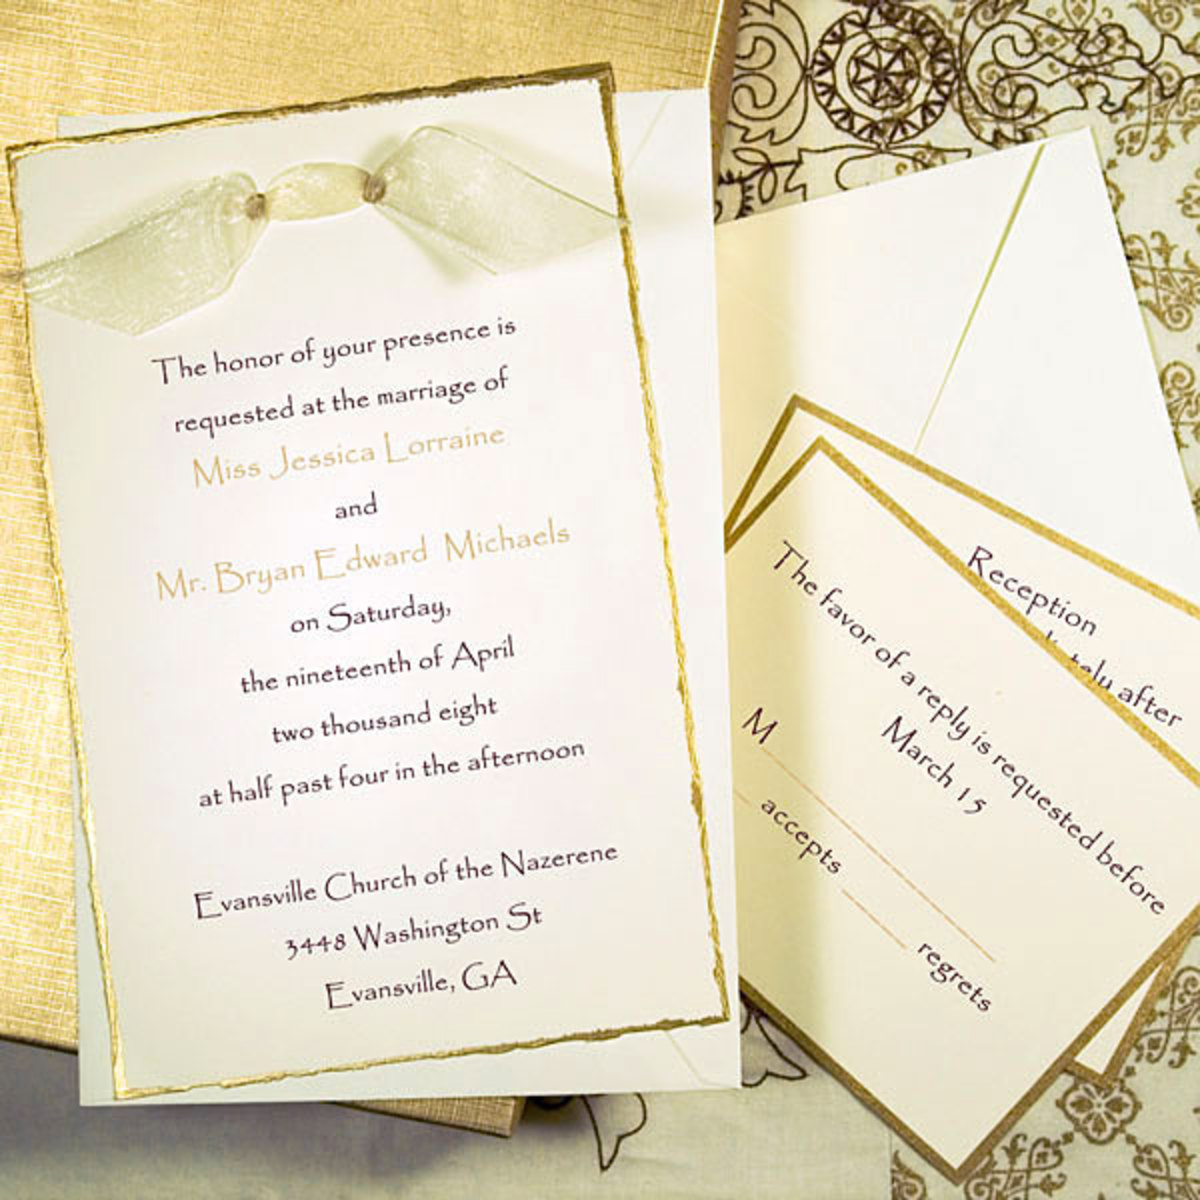
Start with gold. Metallics are a classic sign of opulence and affluence. This particular invitation kit (shown below) adds an extra touch of lavishness by incorporating soft organza ribbon.
Video: https://www.youtube.com/watch?v=TxrjjcEtL8s
Another way to create a more upscale look for your invitations is to not only choose a metallic or shimmer finish, but also a high-quality textured finish such as linen. Either way, it is the impact and appearance of the invitation card finish as your guest removes it from the envelope that will leave a rich impression!
You Want to Cut Cost
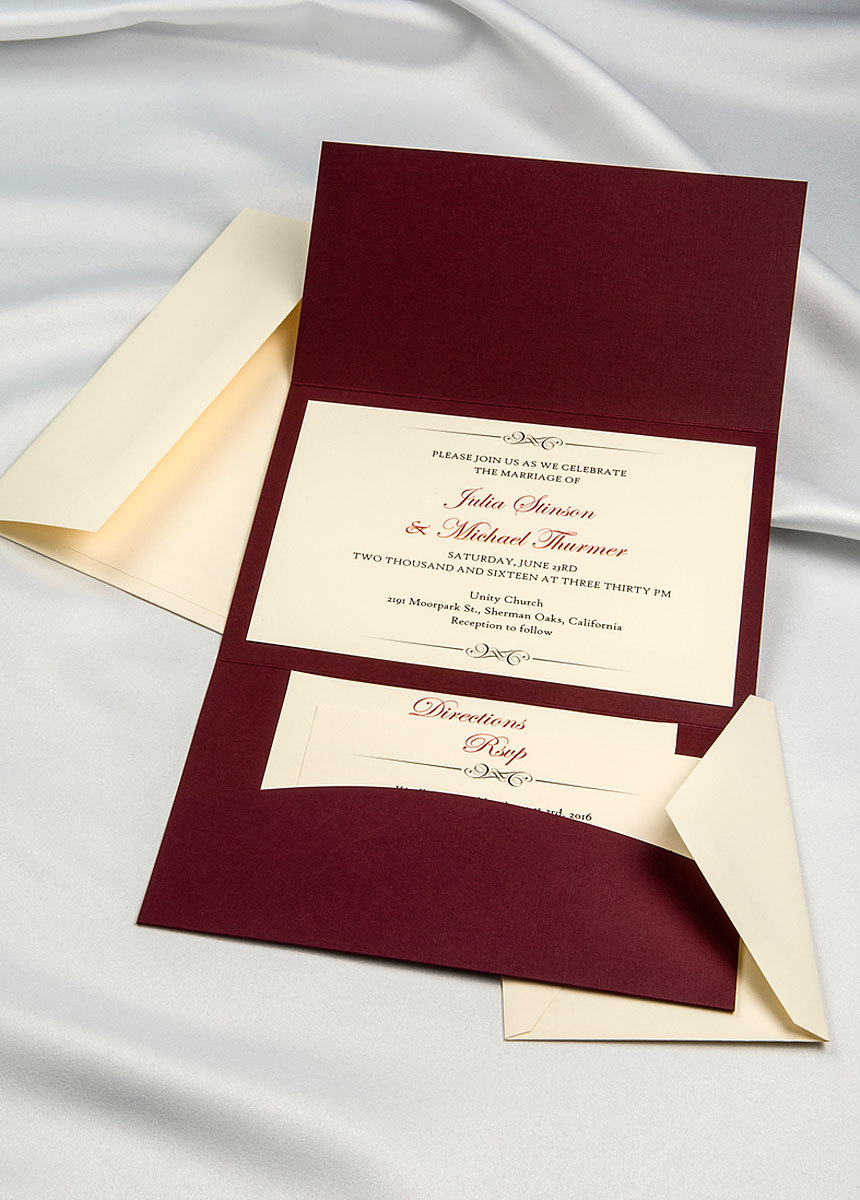
If your motive for handling your own wedding invitation production is to reduce expenses so you can splurge in other areas, then look for scaled down invitation kits and paper options that are free of embellishments and extras.
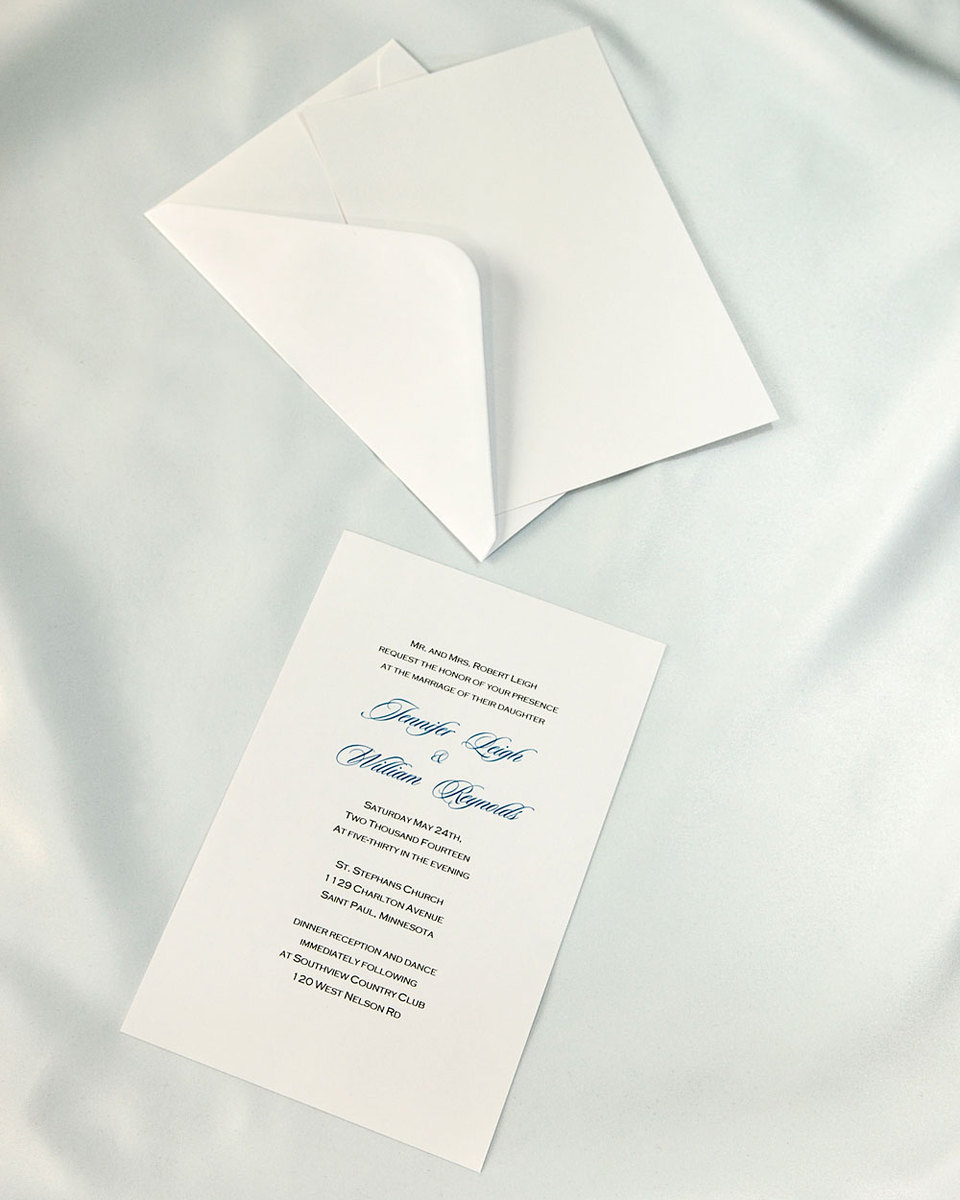
For instance, many of our customers love our blank white and ivory invitation kits because they are very accessible at just $0.20 per invite, but still allow you all the flexibility you need to add in your own design.
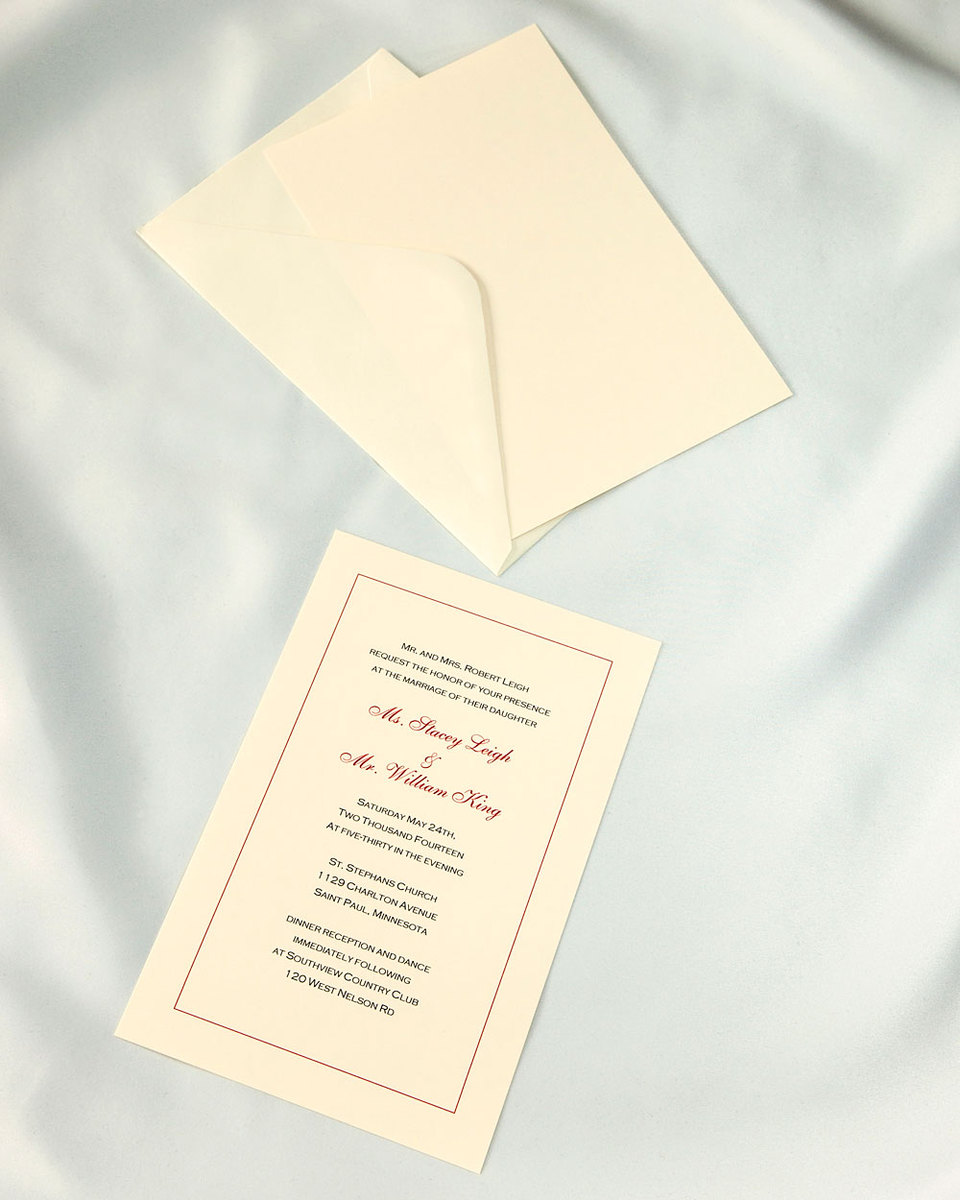
With these kits, you can still add colors and design elements, such as borders, graphics or flourishes, using a simple home printer or printing service.
Start with one of our free printing templates, such as the one showing below, and modify it with your colors, fonts and any graphic elements you’d like to add.
Photo: GS Border template for plain white invites
These kits come with printable pre-cut invitation cards, on which you will put all relevant wedding information, and envelopes. There are no extra cards or embellishments, which gives you significant savings.
You Are A Minimalist
Looking for a streamlined design that skips the extra frills and has a clean, polished appearance?
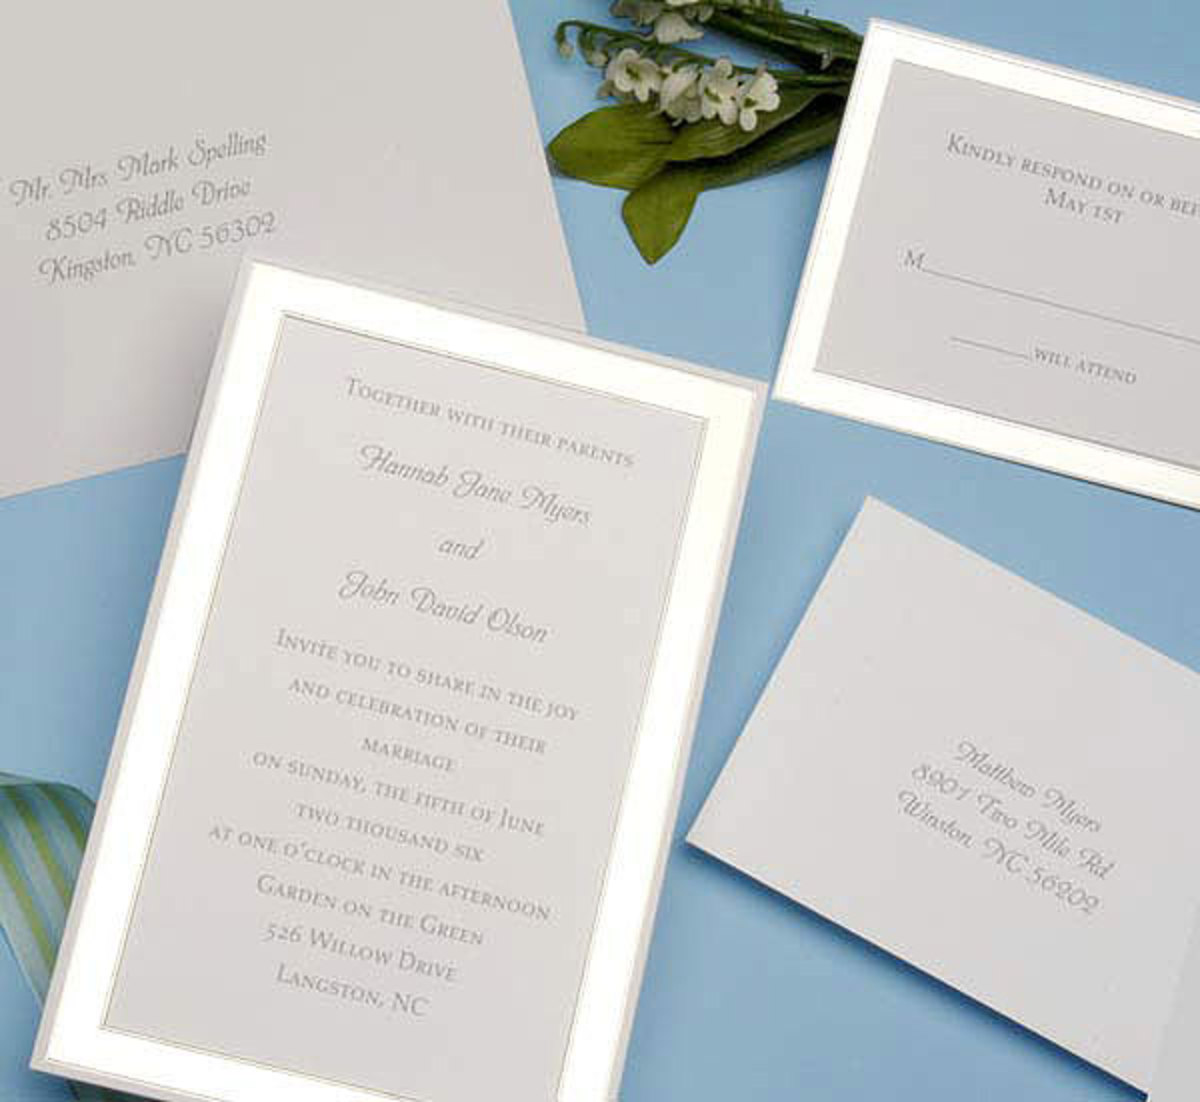
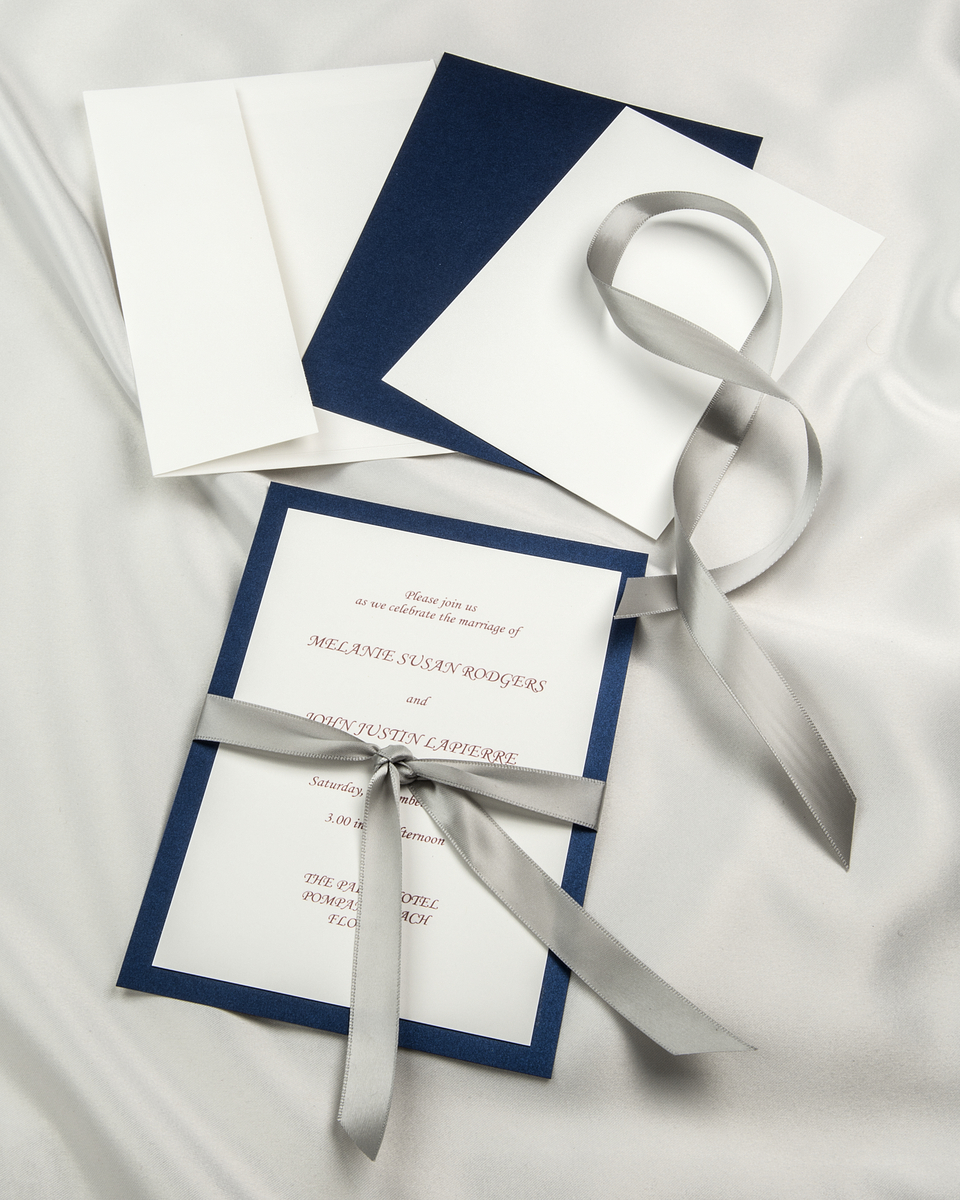
One option is a single card invitation style that incorporates a border. It is limited on design aspects, but has just enough dimension to give it character.
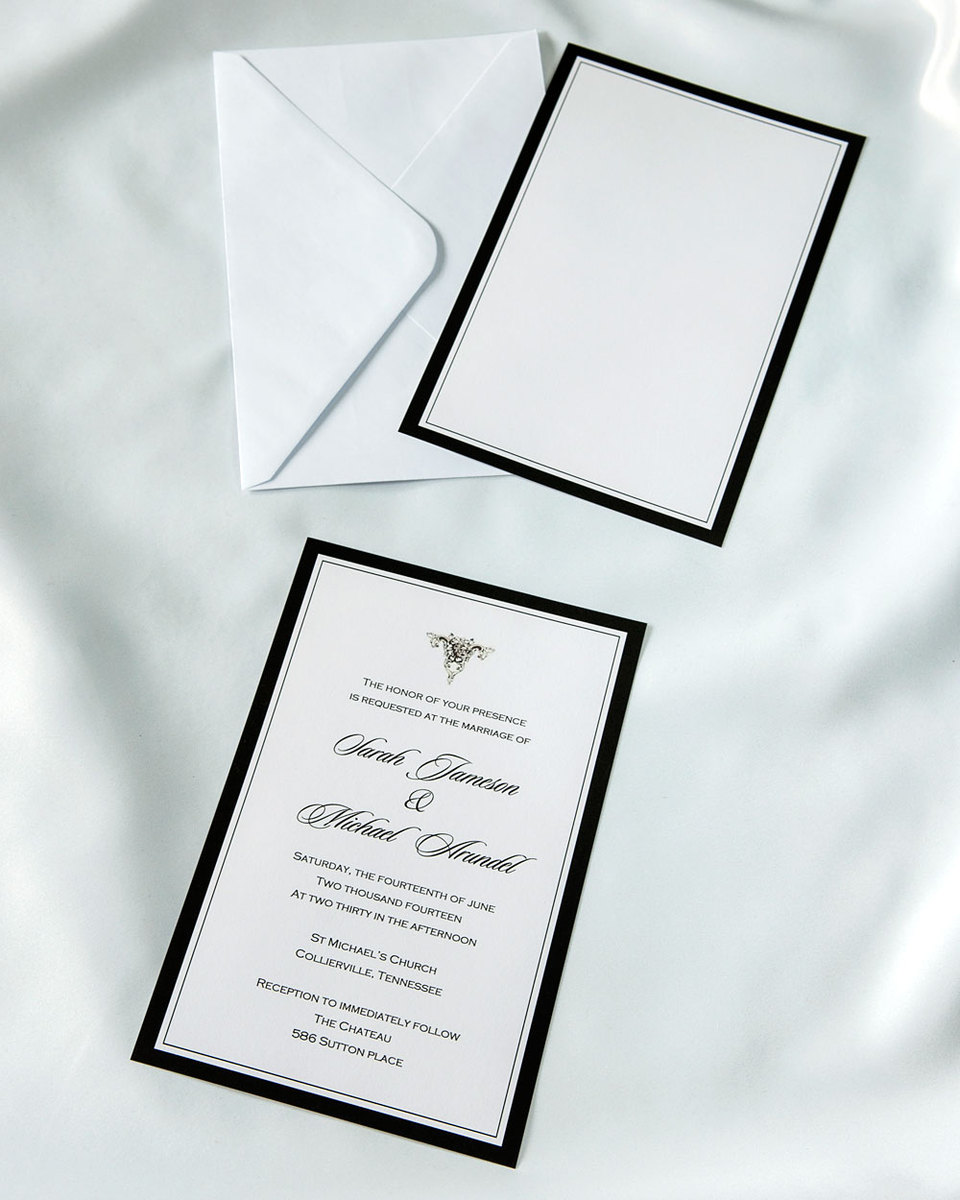
Then again, if what you need is room for a few more pieces, such as an RSVP card and directions, but you don’t want the additional bulk to be overwhelmed with added design elements, then stick with the simplest pocket fold invitation kit options that exclude extras like ribbon or lace.
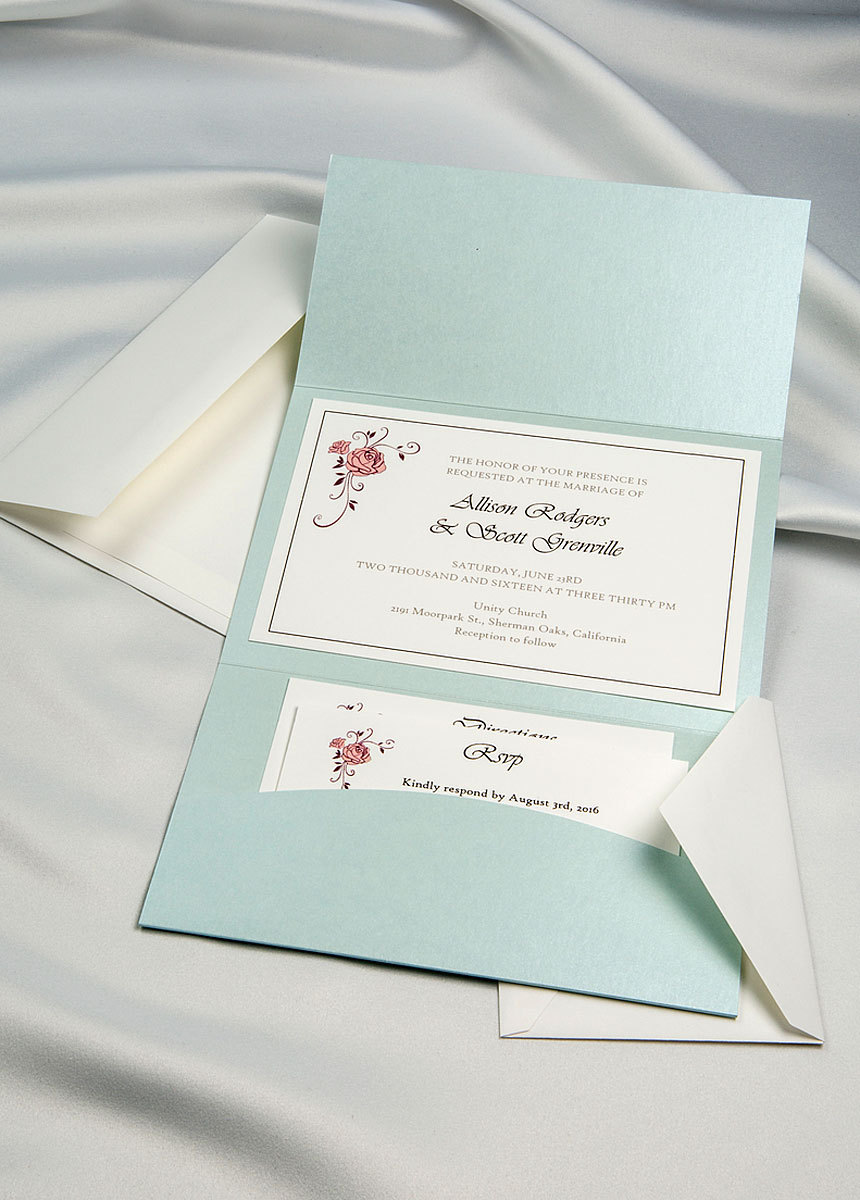
For the most minimal look, skip any florals, flourishes or special graphic art when creating your printable template.
You Like A Touch Of Vintage or Charm
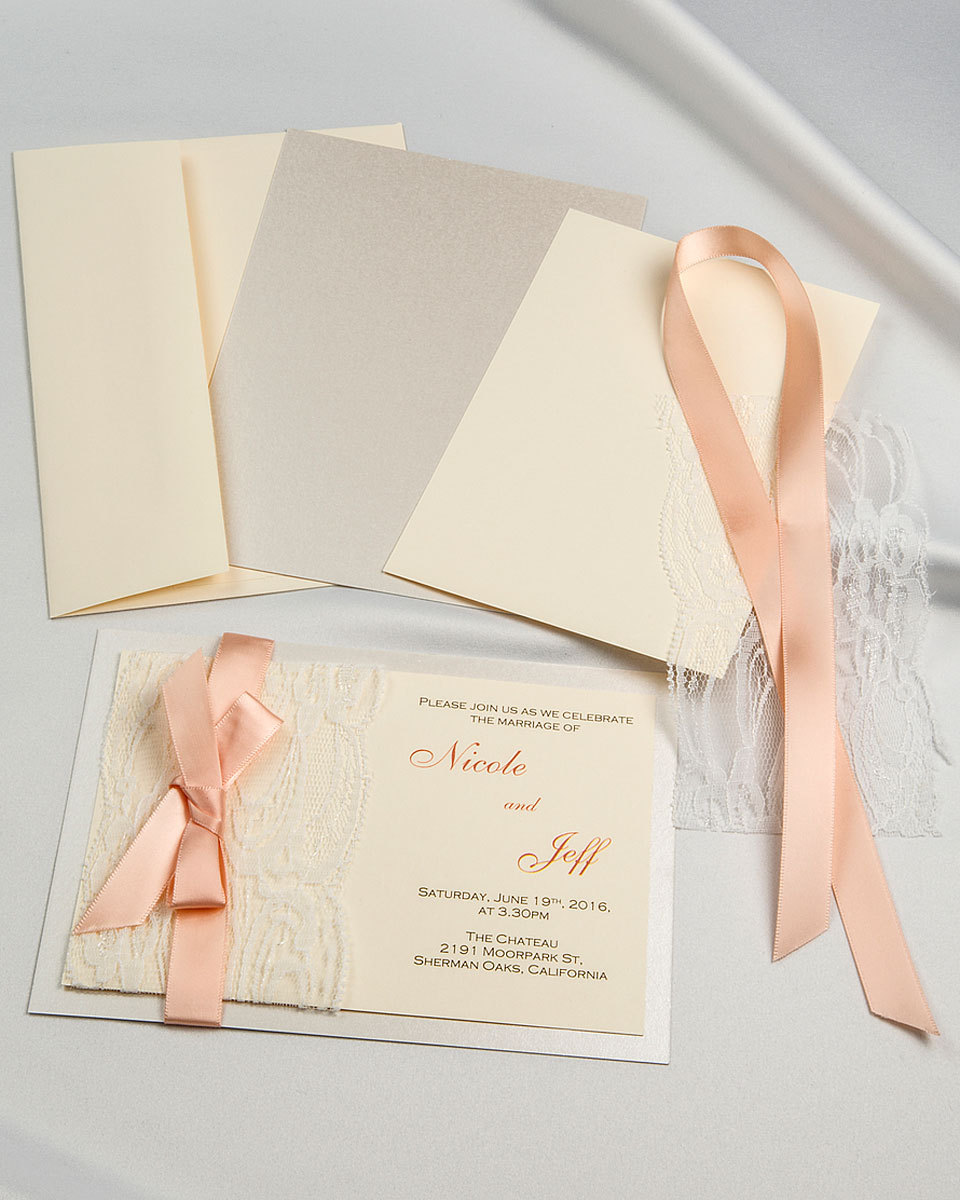
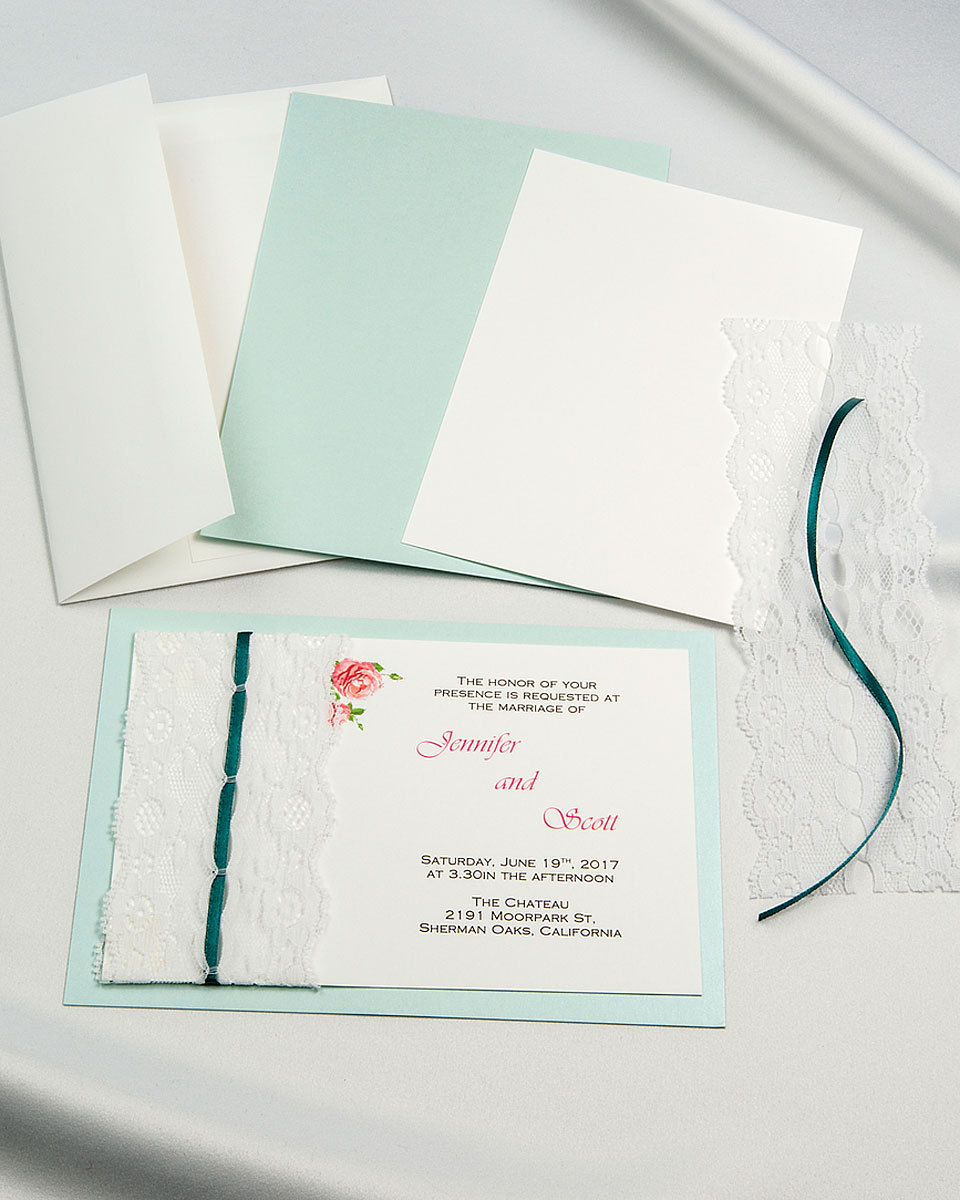
A great way to bring in a bit of Victorian elegance is to use accents like lace, which adds charm and grace to everything it adorns.
Damask patterns and oval shapes are also reminiscent of centuries of old and can give a delightful retro feel to your invitations.
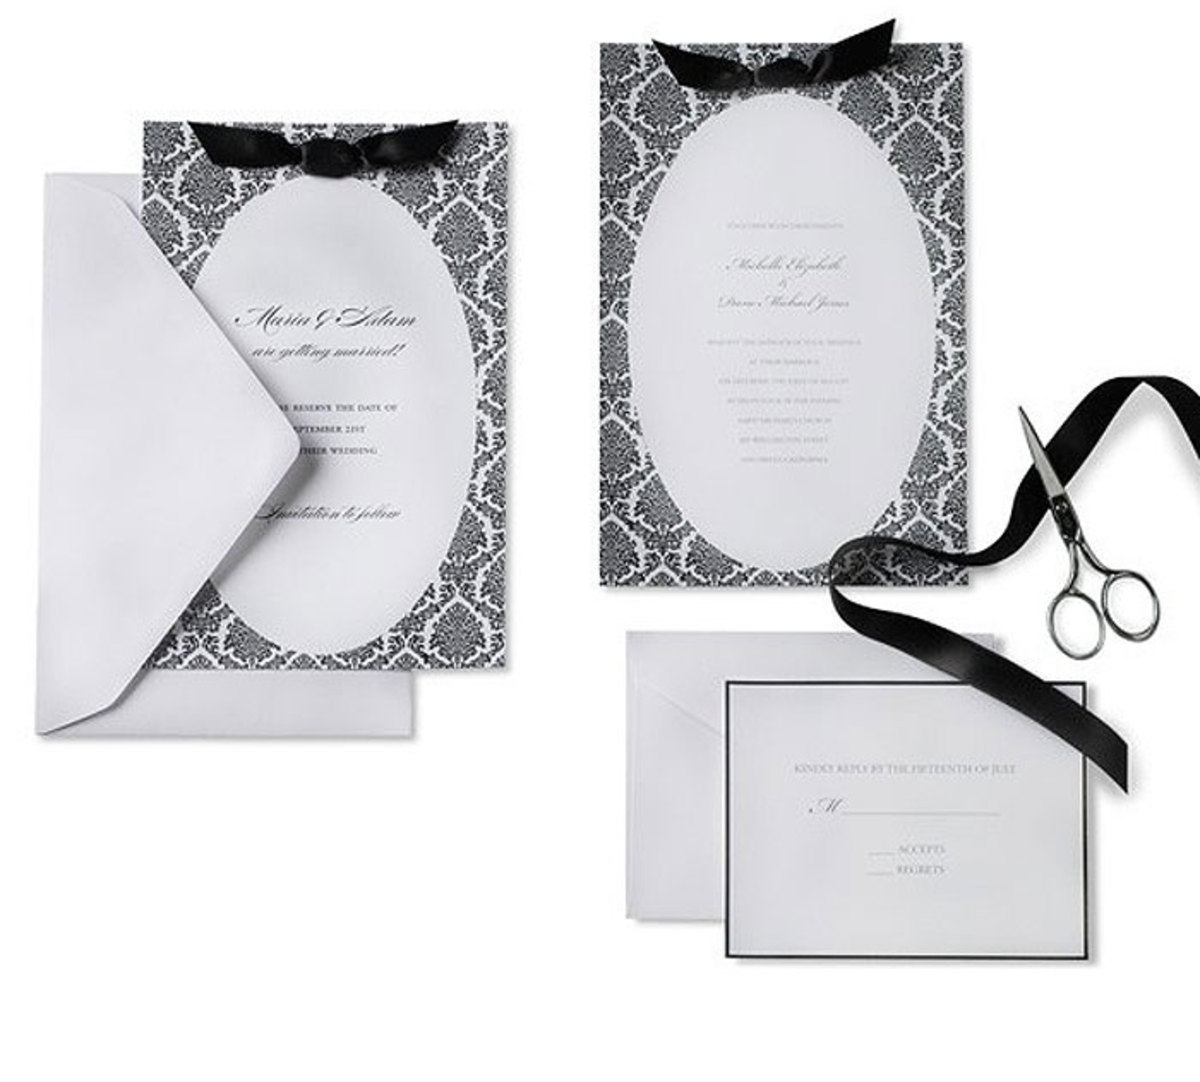
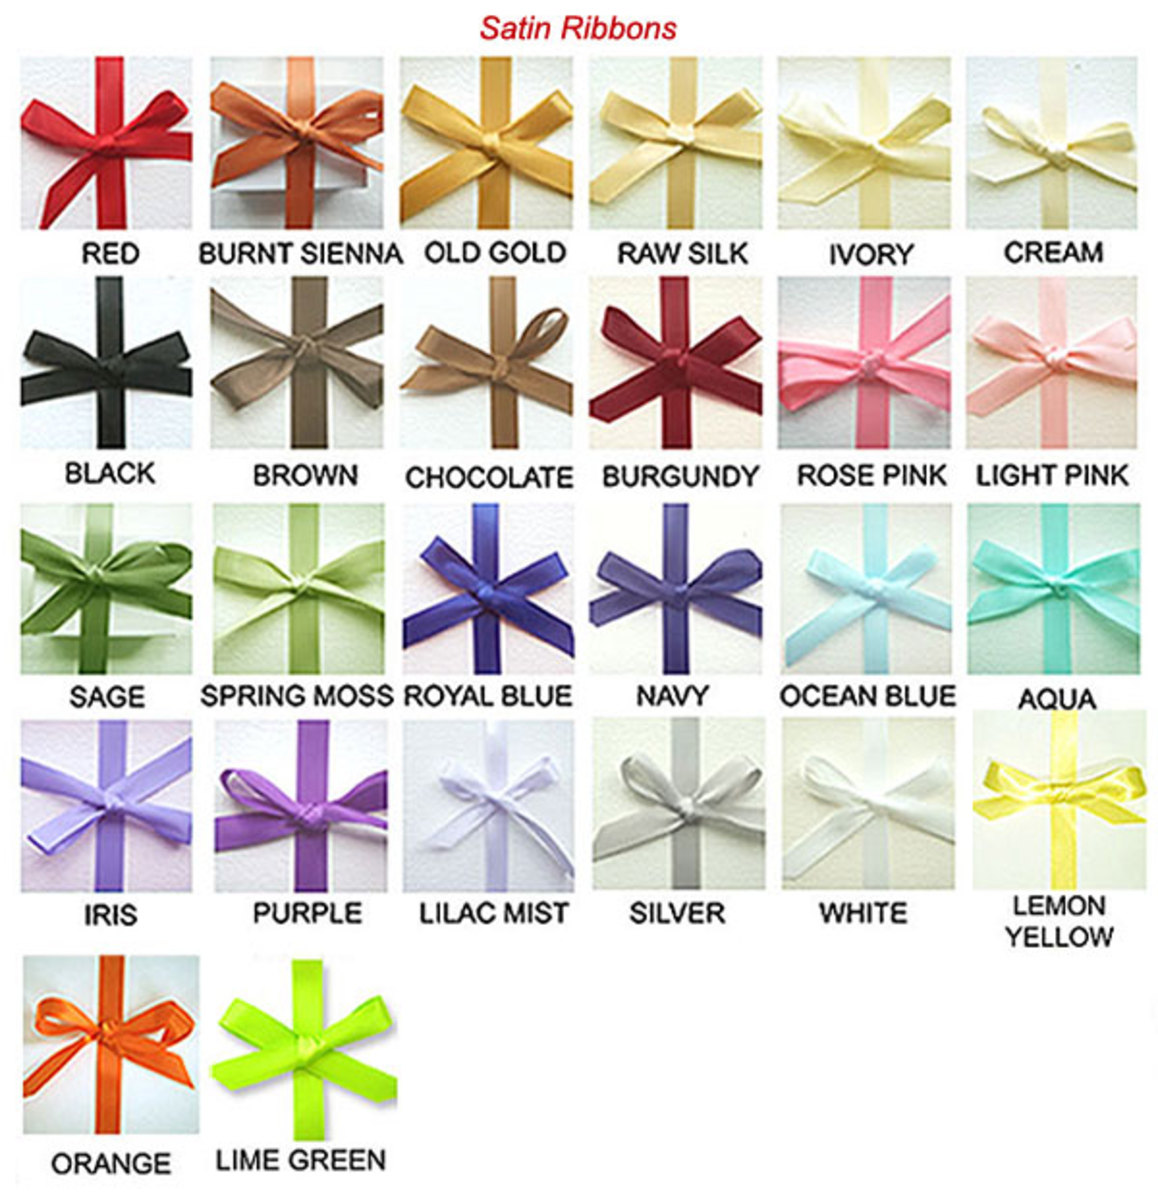
For a charming and elegant effect, consider adding ribbon, which can transform an average invitation into an extraordinary presentation. The ribbon color you choose can be complementing or contrasting but either way will have a strong impact.
Video: https://www.youtube.com/watch?v=5AhUKBJTS1I
Test Your Idea
Few things are more heart-breaking to an engaged couple than discovering that your amazing wedding idea didn’t turn out at all like you planned.
When it comes to your wedding invitations, you can avoid disappointment completely by taking a little extra time to trial your invitation idea first with a card sample.
Decide How You’ll Print
Before you proceed with your test, you’ll want to consider how you plan on printing the invitation itself, which is the paper that has your custom wording and announcement printed onto it.
Below is guidance to help you figure out which option is best for you.
And if, after reading our tips, you’re still not sure you can always try printing at home first and evaluate once you see the quality of the printing. Fortunately today’s home printers produce such an excellent quality print that it is hard to tell whether they have been done professionally or not!
Printing yourself
Printing your invitations yourself can bring a high level of satisfaction and accomplishment. You not only end up with a design that reflects who you are as a couple but you did the whole thing yourself!
How do you know if printing it yourself is for you?
The main thing you need is a decent quality inkjet printer, i.e. not the old printer that you inherited from your brother 10 years ago after he’d finished college. Preferably a printer that was purchased somewhere in the last 5 years or so that still works well.
In addition you’ll need Microsoft Word already installed on your computer, especially if you want to use any of our free downloadable design templates to get you started.
You’ll need some time of course to sit down and design your invitations but then even if you had them done professionally you’d still need time to sit down with your graphic artist and select style, wording, embellishments, etc.
You’ll need to feel comfortable about assembling the printed cards and putting everything together into the envelopes. Many wedding couples turn this into a fun joint experience, either with friends or with family or both. It’s a good way of getting the two families together in a collaborative social setting!
Outsourcing printing services
If you have a laser printer (which won’t print small card sizes), or you have no printer at all or you just want to have someone else handle the printing, you can always hire a professional printing company to print your invitations for you. We have made it easy for you to do that by providing a new option for our free downloadable design and printing templates.
Once you are ready to begin your design, simply click on the Printing Templates button on the product page where you purchased your blank invitation kits and select the “Take To Printer” option. What this does is it downloads onto your hard drive preformatted templates that are suitable for 8.5 x 11 card stock which is what your printing company will need. These templates are designed with cut marks already in place so that your printing company can print and cut them to the correct size.
Once you’ve customized your design template simply save it to your email or a flash drive or disk and head to the printing company with the card stock we sent you in your order
Outsourcing printing services may be a more efficient option if your invites have a lot of images or have dark colored backgrounds which require a lot of ink.
Decide How You’ll Address
Your return address and the address of the guest you are inviting need to be added to your envelopes as part of the DIY wedding invite process. It’s helpful to decide how you plan to execute this step in advance.
Addressing options:
Depending on the finished product you envision in your mind, you have a few nice options for adding the return and delivery addresses to your envelopes.
- Hand write the addresses yourself
- Have friends and family who are helping you with the project hand write the addresses for you (choose someone whose natural handwriting you love)
- Pre-print the return and guest delivery addresses to peel-and-stick mailing labels
- Hire a calligrapher to professionally address each envelope for the most elegant look
A few additional tips on addressing:
- If looking for a formal invitation, include the correct title for the guest, such as Mr., Mrs., Prof or Dr., in the address list you’ll be providing to whoever is addressing the envelopes
- Check your address list multiple times before printing out a list for the person addressing your envelopes or before printing to mailing labels. Look for missing addresses, spelling errors, missing or misspelled names and other errors. Also, check to make sure that the address listed for each person is the current and correct one.
Order a Sample
Each wedding invitation kit we offer comes with an option to order a single sample, including any embellishments you picture adding to it, such as ribbon and lace. Simply click the “Order Sample” button to get started.
If you’re concerned that the color of the invitation won’t look the same in-person as it does on your local computer screen or just want to touch the paper with your own fingers before you make your final decision, a sample will put your concerns to rest. They are easily affordable (generally $2.50 or $3.00 each and free shipping) and come with printing test sheets for you to experiment with.
Make Your Sample
Now that you have ordered and received your sample invitation kit, here’s what else you’ll need to create a finished design for review:
- Home inkjet printer (or professional printing company)
- Microsoft Word
- Standard printer paper (if printing at home)
- Sample kit that you ordered
Step 1: Download the free printable wedding invitation template you want to trial
Step 2: Customize the template to your liking, with your chosen fonts, wording, formatting and ink colors
Step 3: Print your customized template onto your own standard printer paper first before testing on the card stock provided in your sample kit. Repeat this step until it looks perfect and you’re happy with the end product. (Alternatively, you can also work with a local printer to have this part of the invitation printed for you.)
If printing through a commercial printing company, ask them to print trial samples on regular printer paper first before printing to your sample card stock paper.
Step 4: Once happy with the printing of your invitation on standard printer paper, try a print on the card stock paper provided in the sample invitation kit you ordered.
Step 5: Attach your printed invitation to the invitation backing using double-sided tape.
Step 6: Assemble all other elements of your invitation kit, such as ribbon or lace.
Step 7: Evaluate your invitation and make sure you love it!
Step 8: Double and triple check your invitation wording for spelling, grammatical or etiquette errors and save your invitation template for your final print run.
Step 9: Order your invitation kits – you will generally get them within 3-5 days.
Step 10: Once your invitation kits arrive, follow the steps below for creating your very own wedding invitations
How to Make Your Wedding Cards
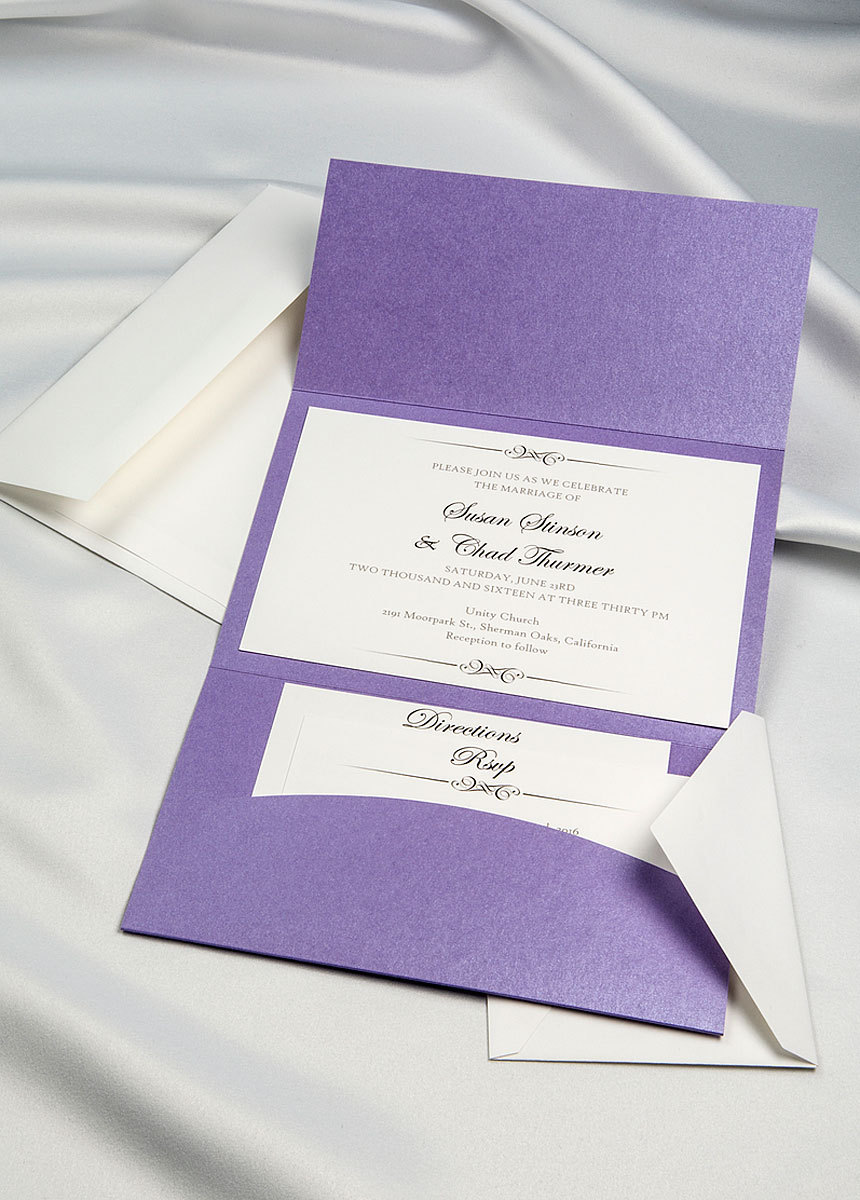
Your design has been selected, your sample has been approved and your invitation kit order has arrived. Now what?
Prep Work
Start early enough so that you won’t have to rush to make your deadline. When setting a date to have your invitations finished and mailed, factor in plenty of time for printing, assembly, post office mail delivery lengths and the amount of advanced notice your guests will need to attend your wedding.
Consider setting up a dedicated room or large space in your home specifically for the production process.
Get a spacious working area where you can comfortably leave the stationery and get back to work the next day, in case your schedule doesn’t allow you to complete the process in one sitting. Ensure that you assemble everything together in one place.
If it helps, create little “stations” on your workspace, like an assembly line, to make production as efficient as possible. This is especially helpful if others are lending a hand.
Schedule help from friends and family to reduce your workload. Make it fun with a DIY party! Serve snacks and refreshments, put on music and have a fun night in with your loved ones.
Postage stamps
The cost of postage stamps will depend on the weight of the enclosures. Take your finished invitation sample to the post office to gauge how much postage stamp you will require. Most of them will be between 1 and 2 ounces.
If the post office offers decorative postage stamps that complement your wedding theme, those can add a little extra elegance to your envelopes.
Buy all the postage you will need for your project.
Finalize Your Invites
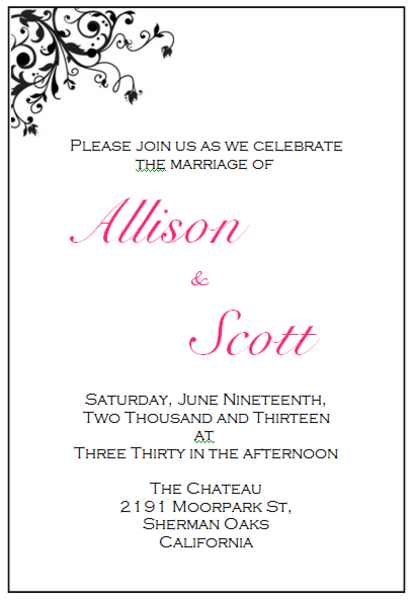
At this point, your invitations have already been customized using the template you chose during your sample trial exercise.
However, it’s always a good idea to revisit that invitation you saved earlier during the sample stage and have someone else check it once again for any spelling, grammatical or etiquette errors. It might seem like overkill, but you’ll be amazed what a fresh set of eyes can pick up on.
Finalize your invitation and make sure it’s correct before printing.
Printing at Home
If you’ve decided to print at home, set aside enough time to print the invitations.
- First, make sure that the printer is working correctly. You may want to print a test print of your invitation on regular printer paper to ensure the printer is in good working order.
- Run a test through the printer with test card from the invitation kits. If the outcome is good, feed the paper stock to the printer and begin printing your customized invitations.
- We suggest you print in small batches rather than a large stack of 50 or 100 cards. Stay by the printer to check changes in ink and printing so that you can stop the print run and adjust where needed before wasting too many card stock supplies.
Printing at a Local Printing Company
Outsourcing your printing to a local business? Follow these steps:
- Copy your final, finished invitation document onto a flash drive or disk
- Grab your card stock supplies and flash drive or disk to bring to your printer
- Have your printer run a few trial prints of your invitation on regular printer paper to make sure you’re happy with the quality of the printing
- Once the printing is to your satisfaction, provide your printer with your invitation kit card stock and have them print off your invitations
- Have your printer also cut the printed invitations to the correct size you need for assembly – it will save you this additional DIY step.
- When done, pick up your printed and cut invitations and bring them back home for assembly
Assembly
Finally it’s time to assemble your own wedding invitations!
If you are receiving assembly help:
- Set up organized, assembly line stations in your work area before your guests arrive.
- Have a few sample invitations already assembled and provide one sample to every station so they can see the finished product, which will help them understand what to do.
- Print out your finalized guest list, double checking for any name and address errors or missing addresses. Place this printed list in the appropriate station with quality pens. If desired, you can also print your guest address list onto sticker address labels.
- Write out your return address. Place this in the appropriate station with quality pens. If desired, you can print your return address onto sticker address labels instead.
- Gather the postage stamps you purchase for your DIY invite project and place them in the appropriate station
- When you assign an assembly line task to each person, provide them detailed instructions and watch them execute it several times to make sure it has been done correctly before moving on to your own work.
Steps for assembly:
Depending on the type of wedding invitation kit you ordered, your do-it-yourself wedding cards will involve some or all of the followings steps:
- Add return address, guest delivery address and stamp to each envelope
- Attach the printed invitation to the invitation backing card with double sided Scotch tape
- Add embellishments, such as lace or ribbon to the invitation, if applicable
- Insert any additional printed invitation pieces, such as RSVP card or directions, into the pocket fold, if applicable
- Fold up the invitation, if applicable
- Insert the finished invitation with all inserted pieces into the stamped, addressed envelope and seal, including adding any specialty envelope seals, if desired
- Drop off your sealed, stamped and addressed envelopes at the post office for delivery when ready
Video: https://www.youtube.com/watch?v=EGUrcmtSTII
You Did It!
Creating your own customized wedding invitations is an incredible accomplishment and something to be proud of!
We had a customer once tell us that when she handed the finished invitation to her fiancé he looked at it and teared up, he was so overcome by the beauty of the invitation.
With quality invitation kit products to make the process simpler and the end result more luxurious, your guests will probably never know that you actually put your own invitations together…but you will!

Leave a Reply