6 Tips on How to Achieve Simple Smoky Eyes
Smoky eyes are one of the most popular makeup looks for a date, party, night out in the city, or other special occasion. They are very dark and dramatic and are not usually used as a part of an everyday look.
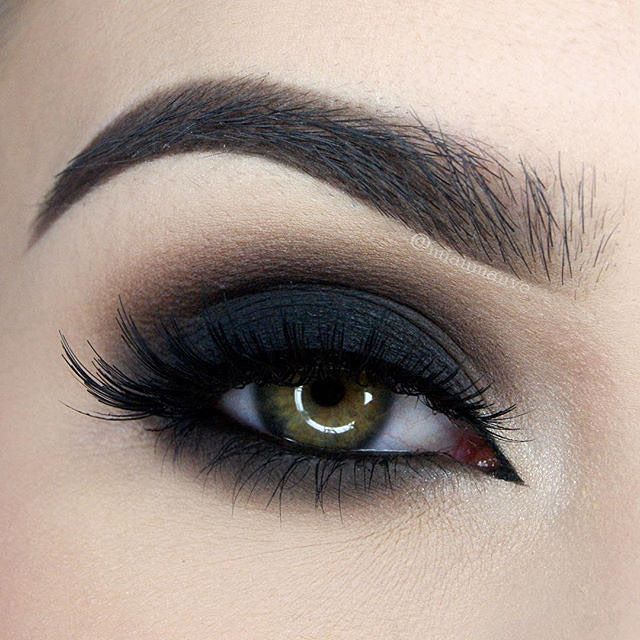
Smoky eyes are a great makeup trick to have in your back pocket whenever you’re looking for a sophisticated look to amp up a fancy outfit. However, smoky eyes can be difficult to master without looking gothic or like a raccoon gone wrong. Fortunately, there are several tips you can use to achieve simple smoky eyes that look great without spending hours at your makeup table. Check out these 14 Pretty Pink Smokey Eye Makeup Looks.
1. Know the Light to Dark Gradient
One of the biggest mistakes people make when trying to achieve a smoky eye look is smudging dark eyeshadow across their entire lid. Although the finished product of a smoky eye is supposed to look dark and dramatic, that doesn’t mean that a thorough application of black and dark gray eyeshadow all over your eyelid is the right way to go. In fact, much of a successful smoky eye application involves lighter eyeshadows.
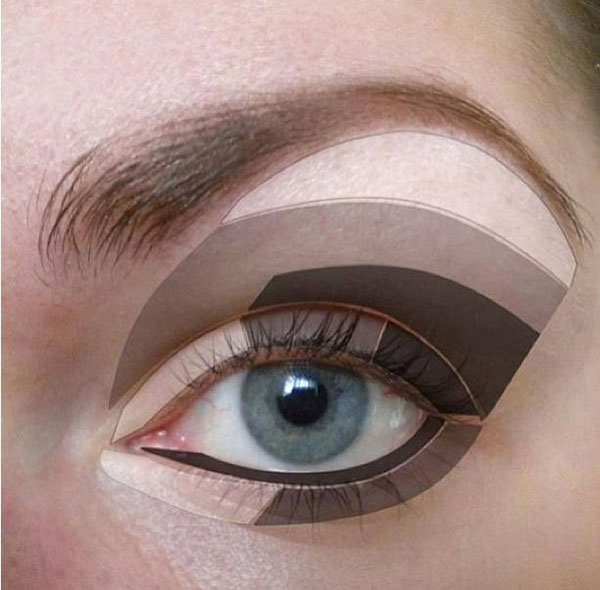
The best thing to remember when attempting a smoky eye look is that, horizontally, the colors should start light at the inner corner of your eye and get darker as they blend outward toward your lash line. Vertically, your eyeshadow colors should start darker at your eye’s crease and get lighter as they blend upward to meet your brow bone.
An easy way to make sure you’re applying the right color eyeshadows to the correct places on your eyelid is to mentally divide your eyelid into thirds horizontally starting at your eye’s inner corner and vertically starting at the crease of your eyelid. Select three different eyeshadows. Apply the lightest shadow to the horizontal third of your eyelid nearest your eye’s inner corner and to the vertical third nearest your brow bone. Swipe the middle eyeshadow onto the middle horizontal third and the vertical third between your brow bone and crease. Finally, apply the darkest eyeshadow color to the horizontal third nearest the outer edge of your eye and the vertical third within your eye’s crease to finish the smoky look.
2. Use the Right Brushes
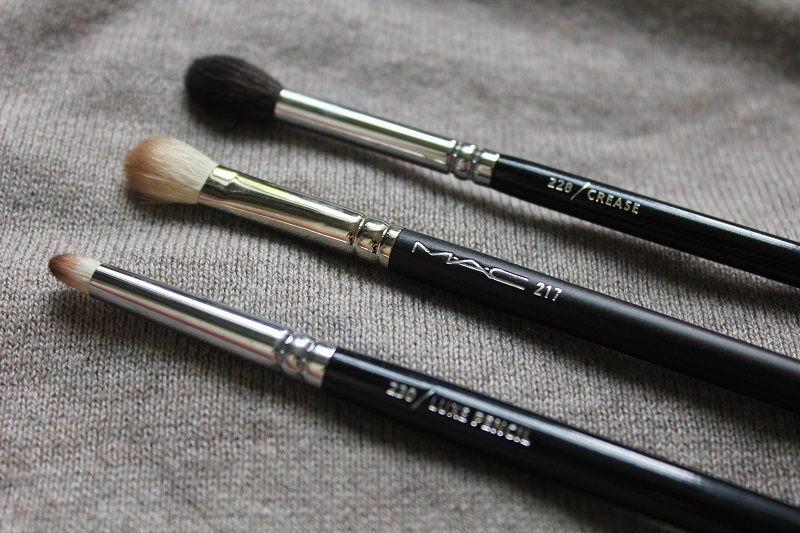
Using the right brushes can make or break your achievement of the perfect smoky eye. Use an eyeshadow sponge applicator or a rounded brush to apply the lighter and middle eyeshadow shades in their respective places on your eyelid.
However, when applying the darkest eyeshadow to your crease and around the outer edge of your eye, always use an angled brush. Applying the dark eyeshadow with an angled brush helps you wield greater control over where the eyeshadow goes and keep the eyeshadow in place.
The angled brush also allows the eyeshadow to swipe on with a more intense, pigmented appearance and prevents fallout of the dark eyeshadow onto your cheeks or other parts of your eyelid that can ruin the look. Using a rounded brush or sponge applicator to apply the darker eyeshadow makes it difficult for you to keep control of where the eyeshadow is going and leads to a messy look. Her is the Top 10 Best Makeup Brushes You won’t Miss.
3. Don’t Forget to Blend

Sufficient blending is a key element of successful smoky eye application. If you use the tip above and apply varying shades of eyeshadow to separate thirds of your eye and do not blend your eyeshadow enough, you will end up with a choppy look that does not achieve the desired sophisticated and sultry appearance of smoky eyes.
After you apply the different colors of eyeshadow to your eyelid, use a larger rounded eyeshadow brush to blend. Swirl the brush in a circular motion in between the different shades of eyeshadow you have applied in order to blend the colors together and achieve a smooth, balanced look.
Make sure to swirl the brush with a light touch and do not press too hard while blending to prevent smudging the colors together and ending up with a muddled appearance.
4. Smoky Doesn’t Equal Black
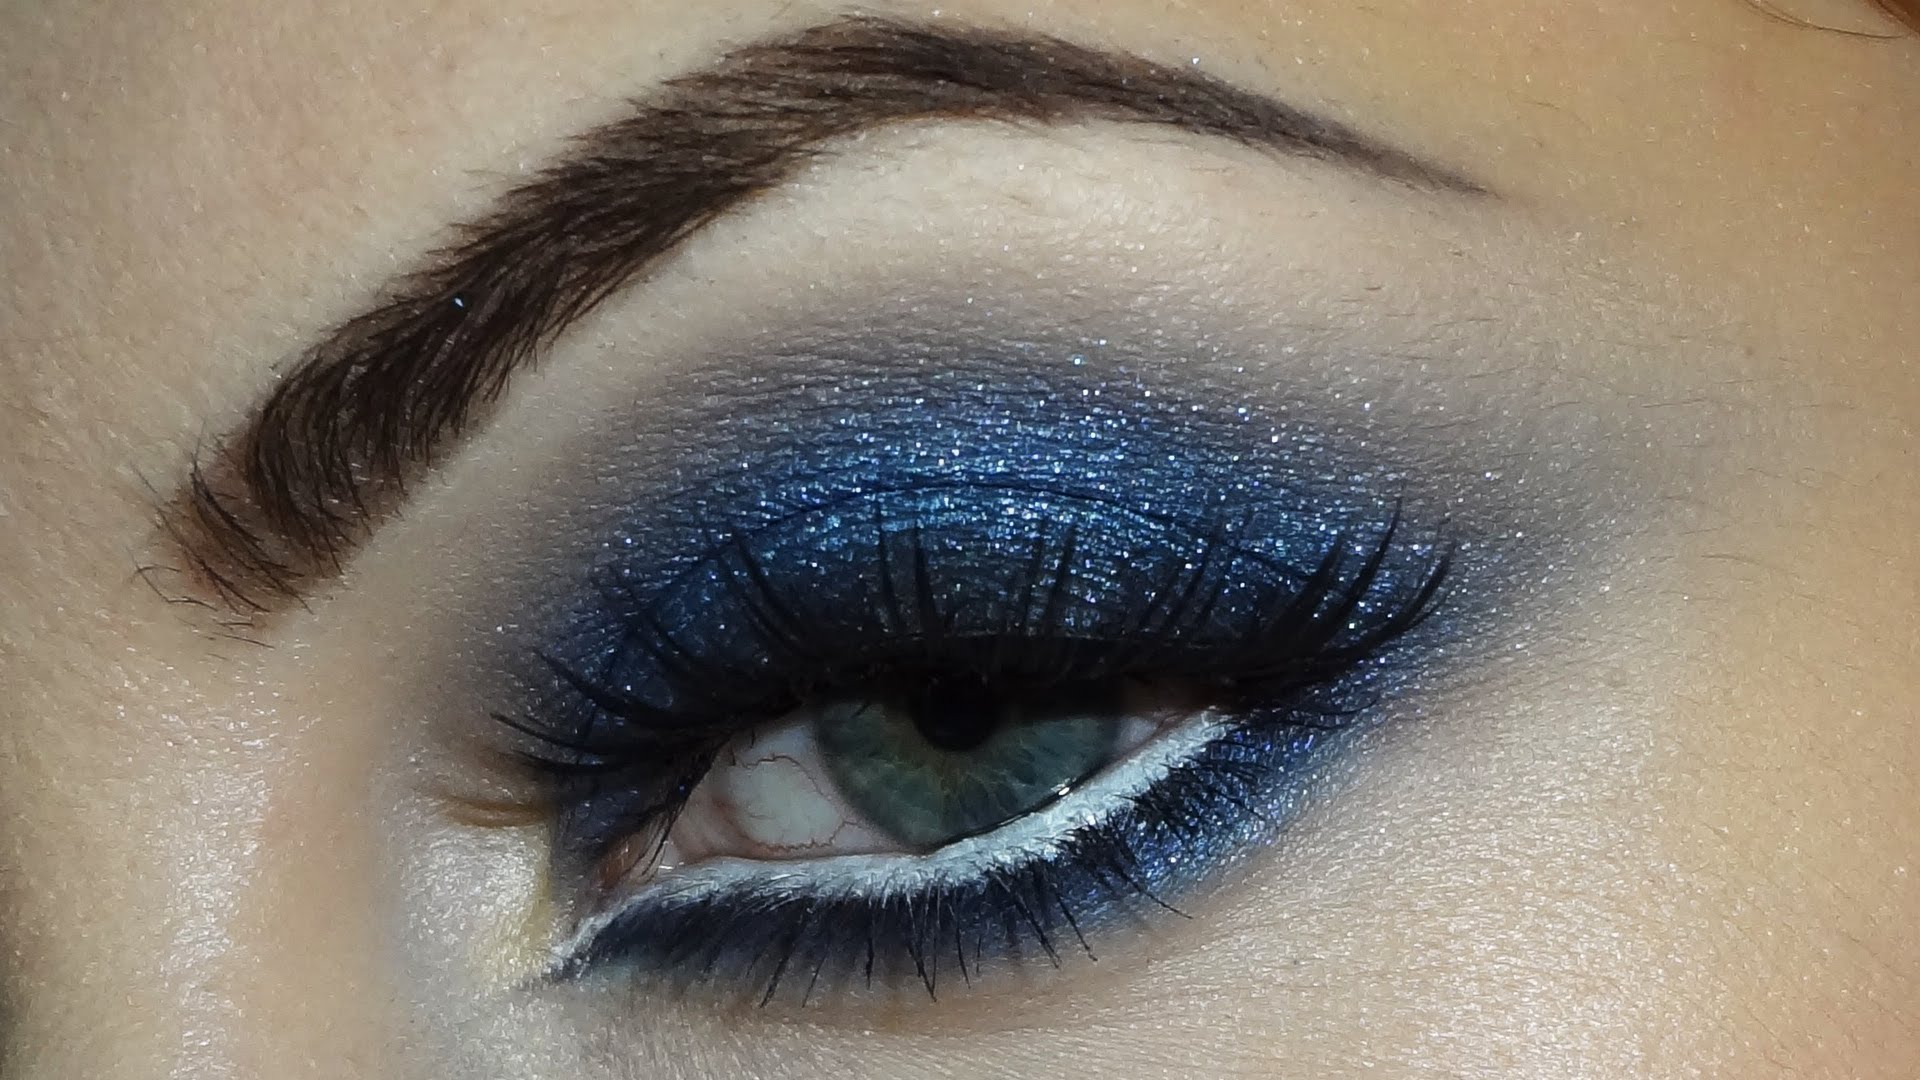
When most people think of a classic smoky eye look, they think of dark gray and black. However, smoky eyes do not have to include black or dark gray eyeshadow at all and can be achieved with varying hues of any color. In fact, for beginners in the realm of smoky eye application, applying a successful black and gray smoky eye can be extremely difficult and end up looking too sharp and dark.
When you first start out attempting smoky eyes, try a different color family instead. Brown and blue are common colors for smoky eyes that are great for beginners to try. Just make sure you have three shades of the color: a light, almost-white shade, a medium shade, and a dark shade. By using a different color family than black, you can achieve a classic smoky eye look that has a bit of a unique twist and is easier to apply without looking too harsh or severe.
5. Pick Colors That Complement You
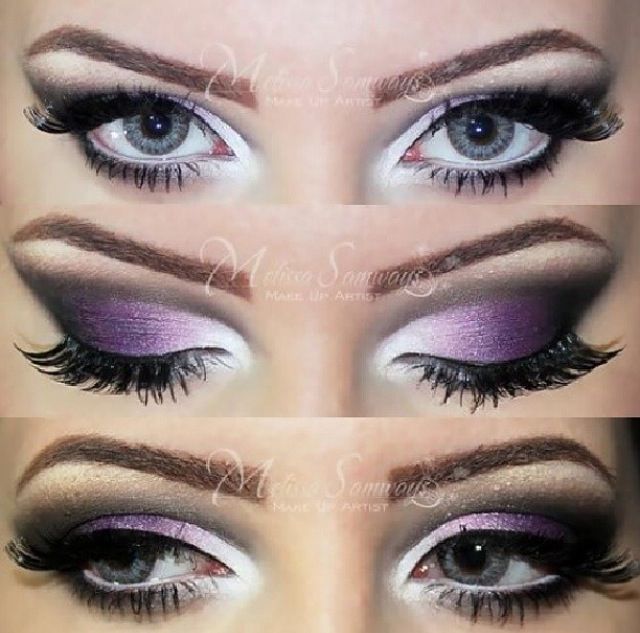
As stated above, smoky eye looks are not limited to a certain color family. You can experiment with different shades of any color you want to create beautiful smoky eyes. However, it is helpful to pick colors that complement your personal eye color in order to achieve the best-looking smoky eye possible. If you have green eyes, try blending different shades of purple to create a plum smoky eye. For blue-eyed beauties, gold and brown shades look best. If you have brown eyes, try different shades of blue or navy to bring out subtle colors in your eyes.
You should also make an effort to pick colors that complement your skin tone as well as your eye color in order to get the best results. If you have very fair skin, avoid using colors that are excessively dark in order to prevent your eyes from looking too harsh and dramatic. Also, try to stay away from colors that are too bright; a smoky eye look is dramatic enough without bringing neon pink or glitter into the mix.
6. Don’t Forget to Set
It is always important to set your eye makeup to increase its longevity and keep it looking freshly applied throughout the day. Eye makeup needs to be locked and sealed into your skin just like your foundation and other face makeup. However, because smoky eye looks include many different colors and are very dark and dramatic, they crease especially easily and it is very obvious when they begin to fade or settle. It can be extremely frustrating when you’ve successfully achieved a beautiful smoky eye and it starts to crease or melt just a few hours later. (5 Best Setting Sprays That Really Work)
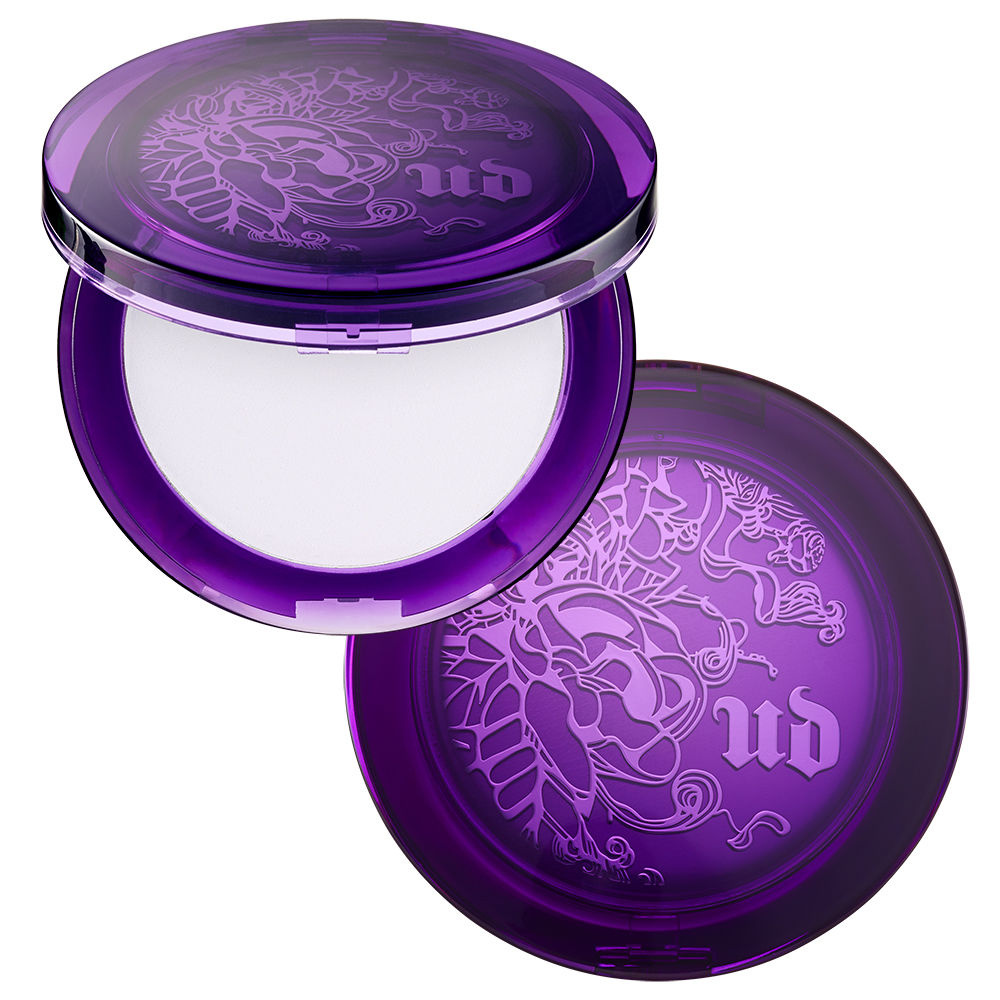
In order to prevent this from happening, don’t forget to set your look with powder after you’ve finished applying the different shades of smoky eye and blending them together. Simply dust a translucent pressed setting powder over the entirety of your eyelid with a large rounded brush. The powder will dust on invisibly and keep your smoky eyes looking fresh for several additional hours. Make sure to dust the powder on lightly to prevent smudging or otherwise messing up the eyeshadow you’ve just applied. A high-quality, invisible pressed setting powder to try is the Urban Decay De-Slick Mattifying Powder ($32.00).
If you don’t want to use a setting powder, you can also mist a setting spray directly onto your closed eyelids to lock in the eyeshadow and prevent it from creasing or fading too quickly. An excellent and effective setting spray is the Urban Decay All Nighter Long-Lasting Makeup Setting Spray.
There is no need to get frustrated when attempting to achieve smoky eyes. Applying smoky eye makeup should be fun and exciting, not disappointing and discouraging. By using the simple tips described above, you can easily and quickly create a smoky eye look that will make you feel confident, sophisticated, and sexy.
Find more makeup tips on prettydesigns.com!